
A Photographer’s Ultimate Guide to Capturing the Northern Lights
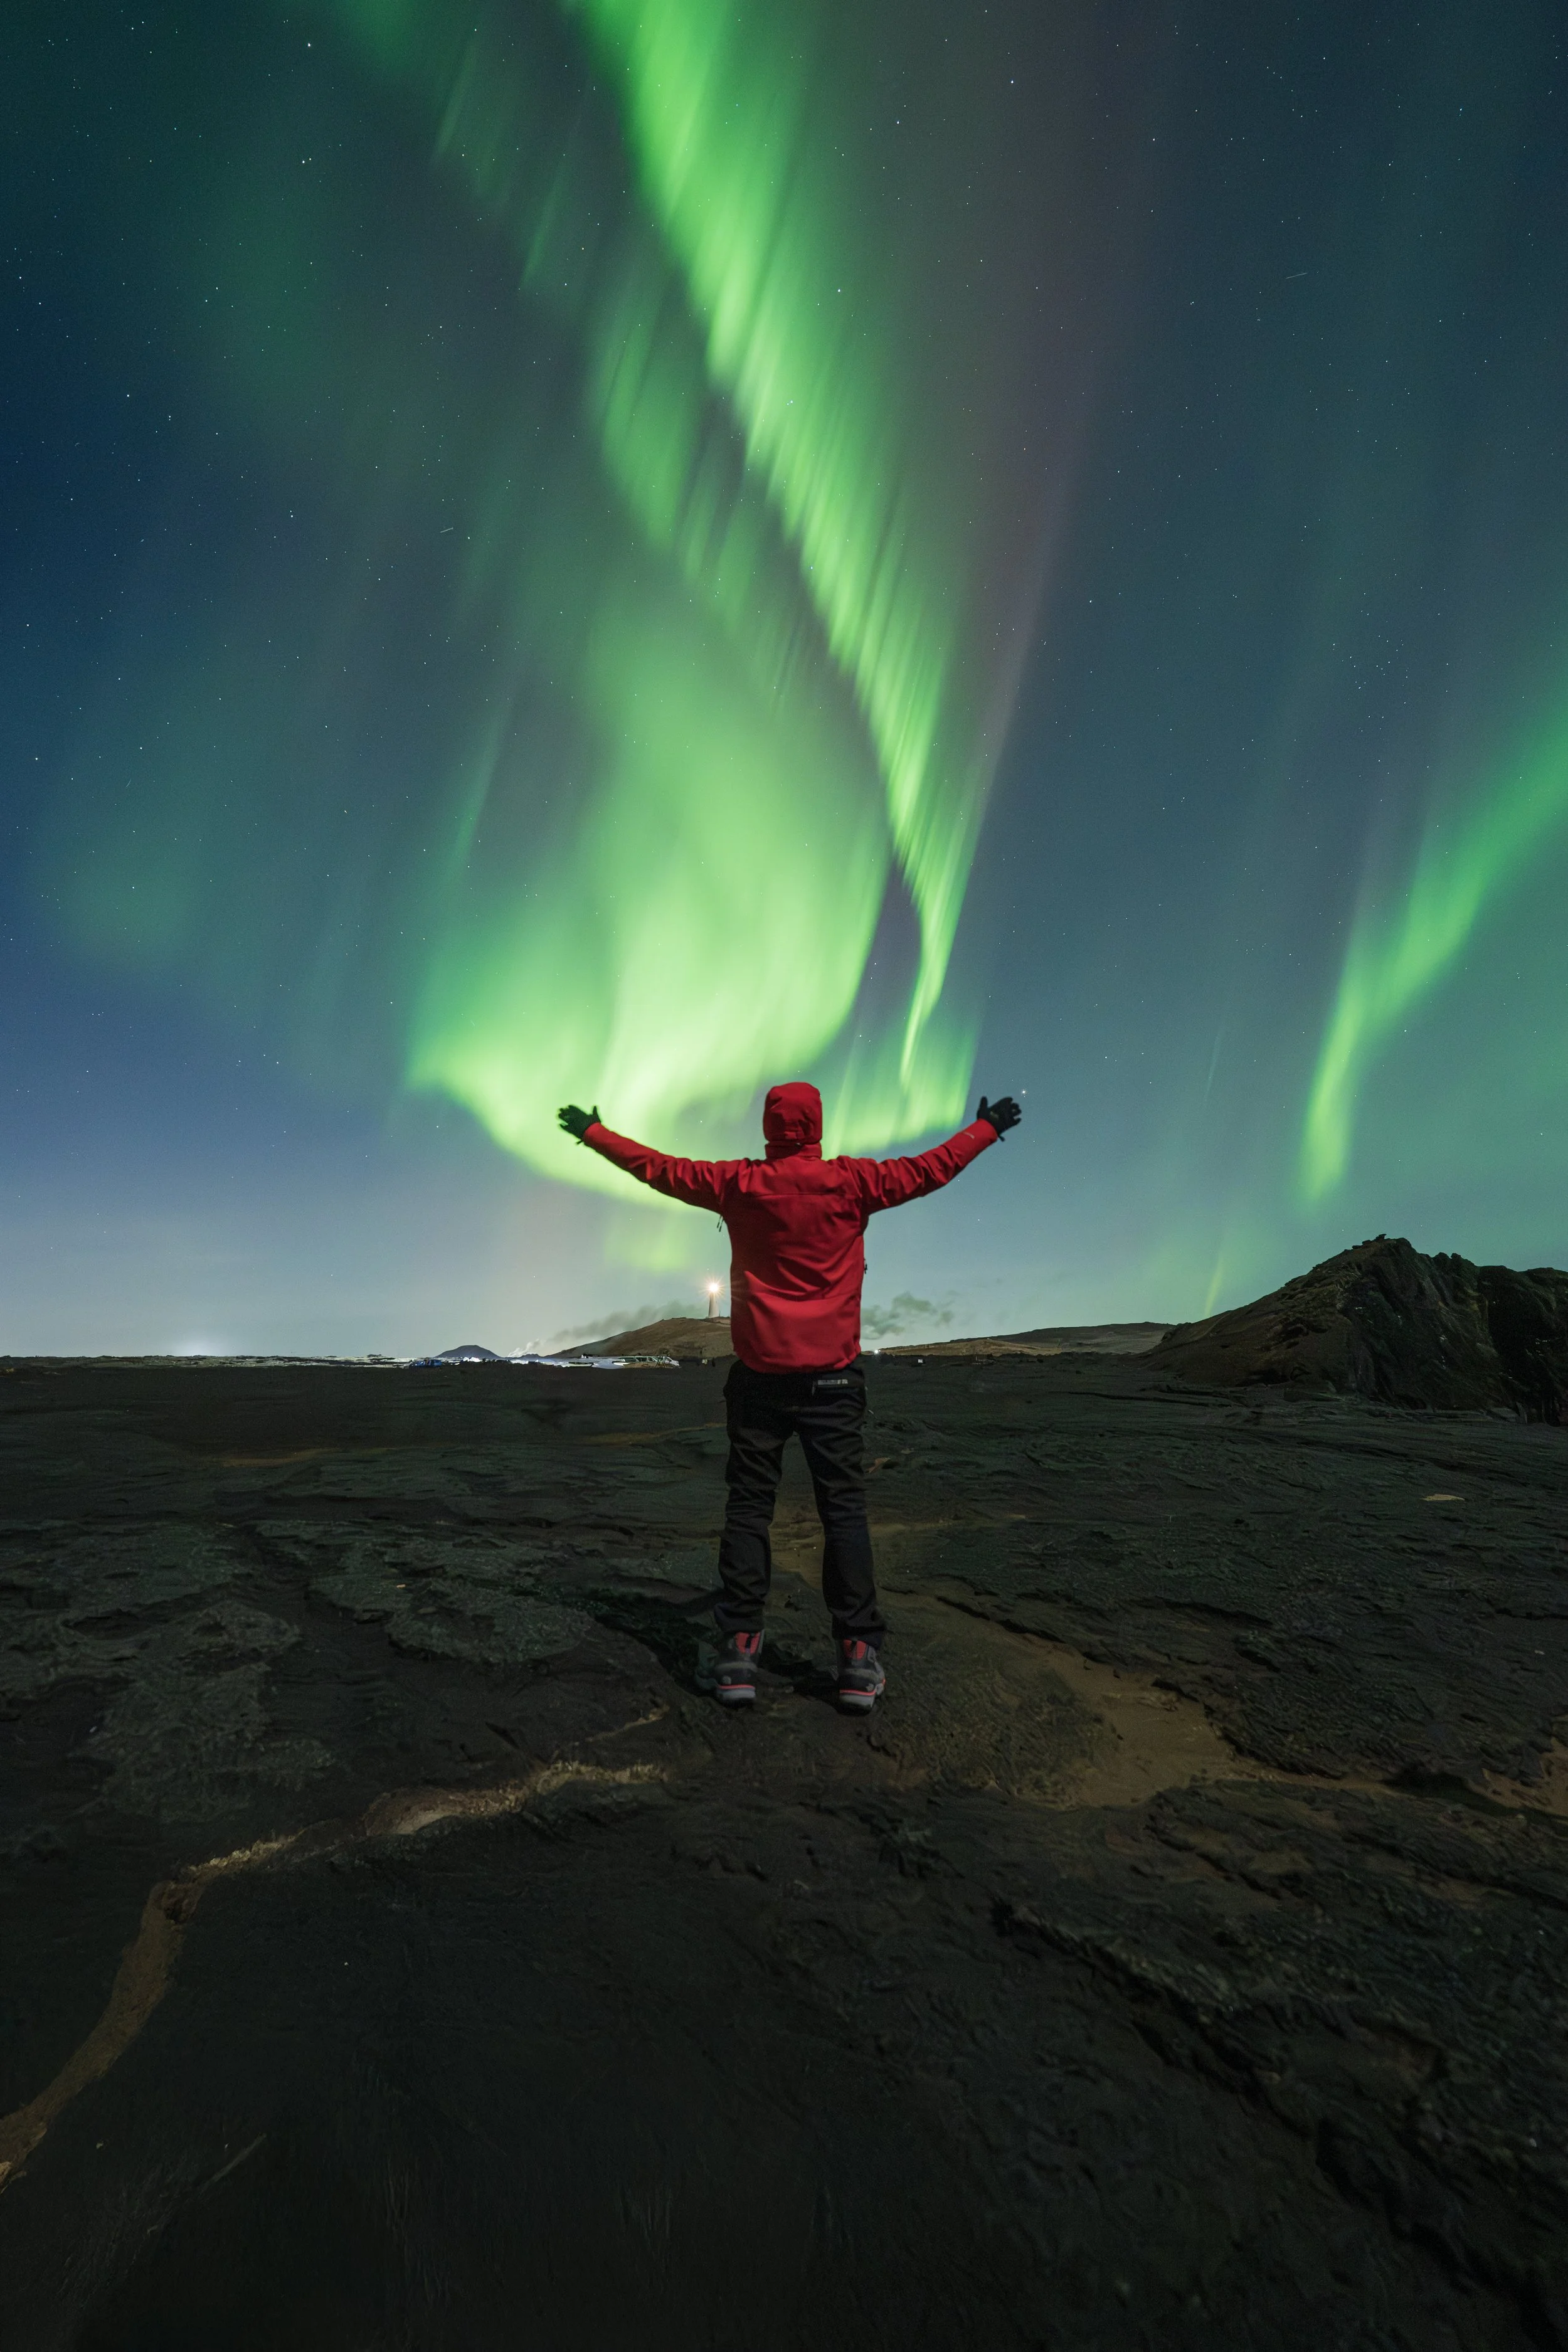
There’s something almost spiritual about standing beneath a night sky ablaze with swirling green and violet ribbons of light. The first time I witnessed the Aurora Borealis, I was speechless. It’s the kind of moment that lingers forever not just in memory, but deep in the soul.
As a passionate landscape photographer, chasing the aurora quickly became one of my obsessions. Over the years, I’ve captured this awe-inspiring spectacle in Iceland and I’ve learned a lot along the way.
In this guide, I’ll take you behind the scenes of my northern lights workflow. I’ll walk you through the gear I use, the camera settings that never fail me, how to plan your aurora hunt, and even dive into the science behind those magical colors. Whether you’re a seasoned pro or just dreaming of your first trip north, this is everything I wish I knew when I started.
🌌 What Are the Northern Lights, Really?
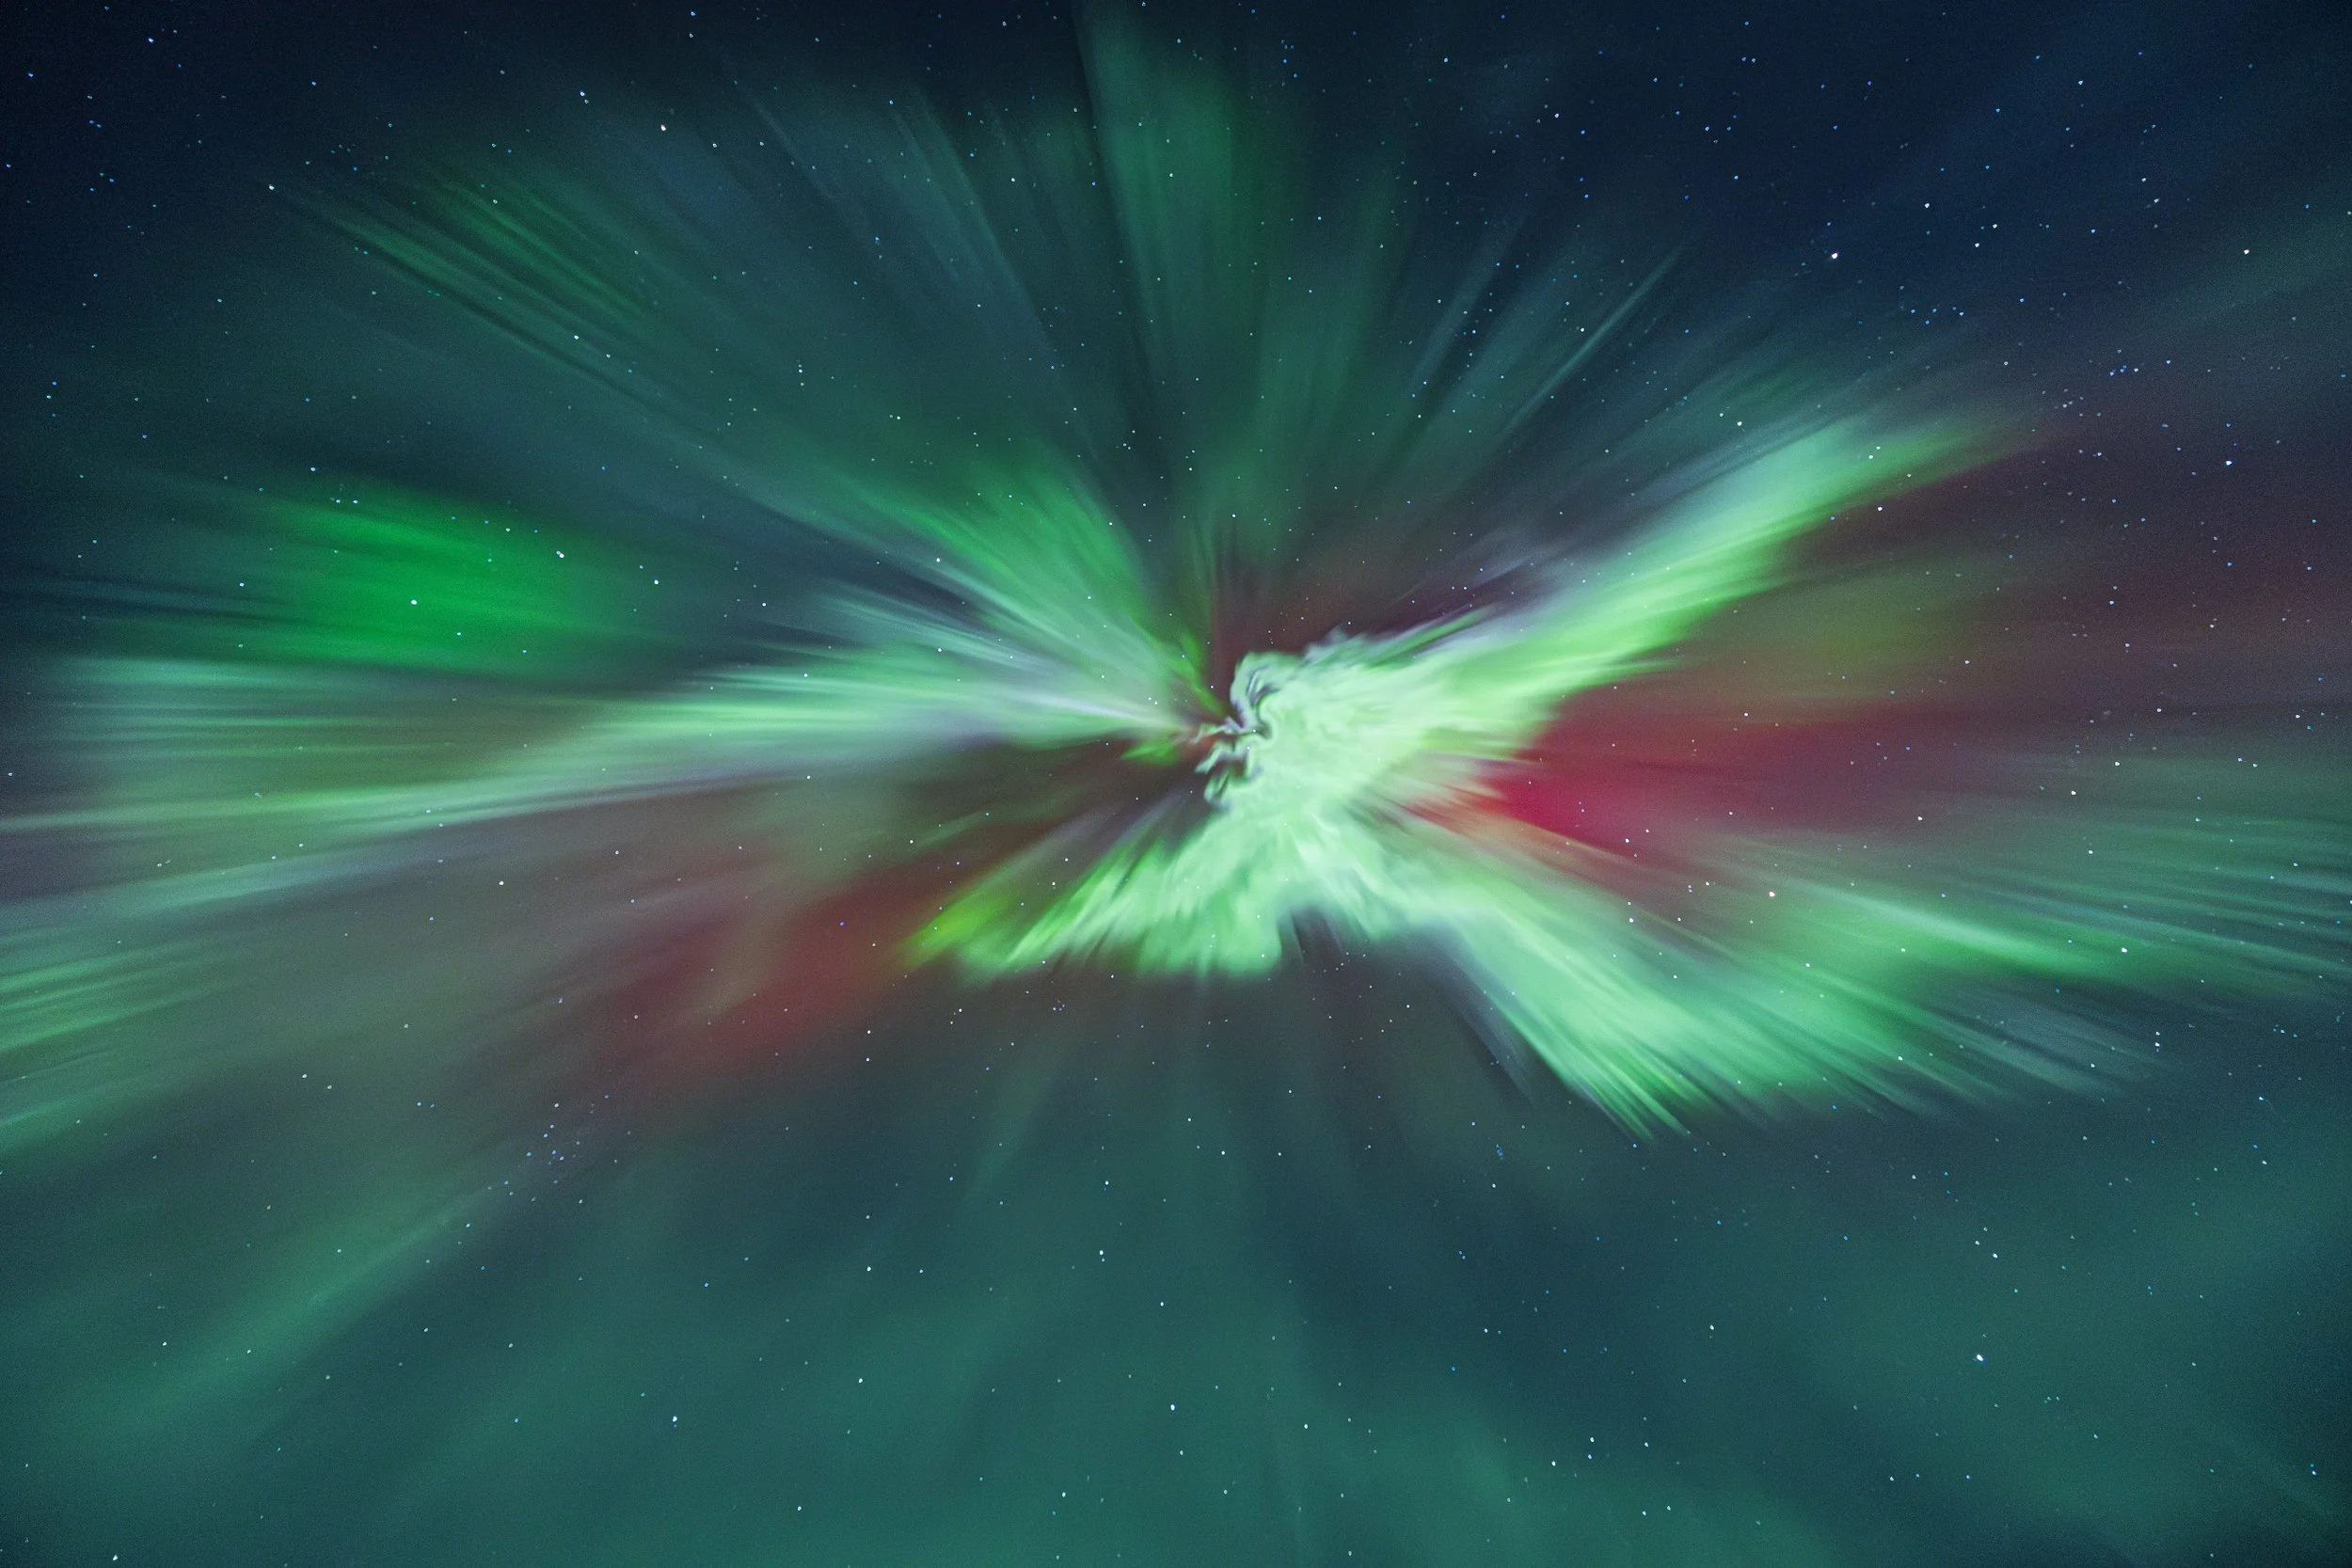
The Aurora Borealis isn’t just beautiful , it’s a living connection between the Earth and the cosmos.
High above our planet, the sun constantly sends out streams of charged particles called the solar wind. When those particles collide with Earth’s magnetic field, they’re funneled toward the poles. As they interact with gases in the upper atmosphere mainly oxygen and nitrogen, they release bursts of energy in the form of light.
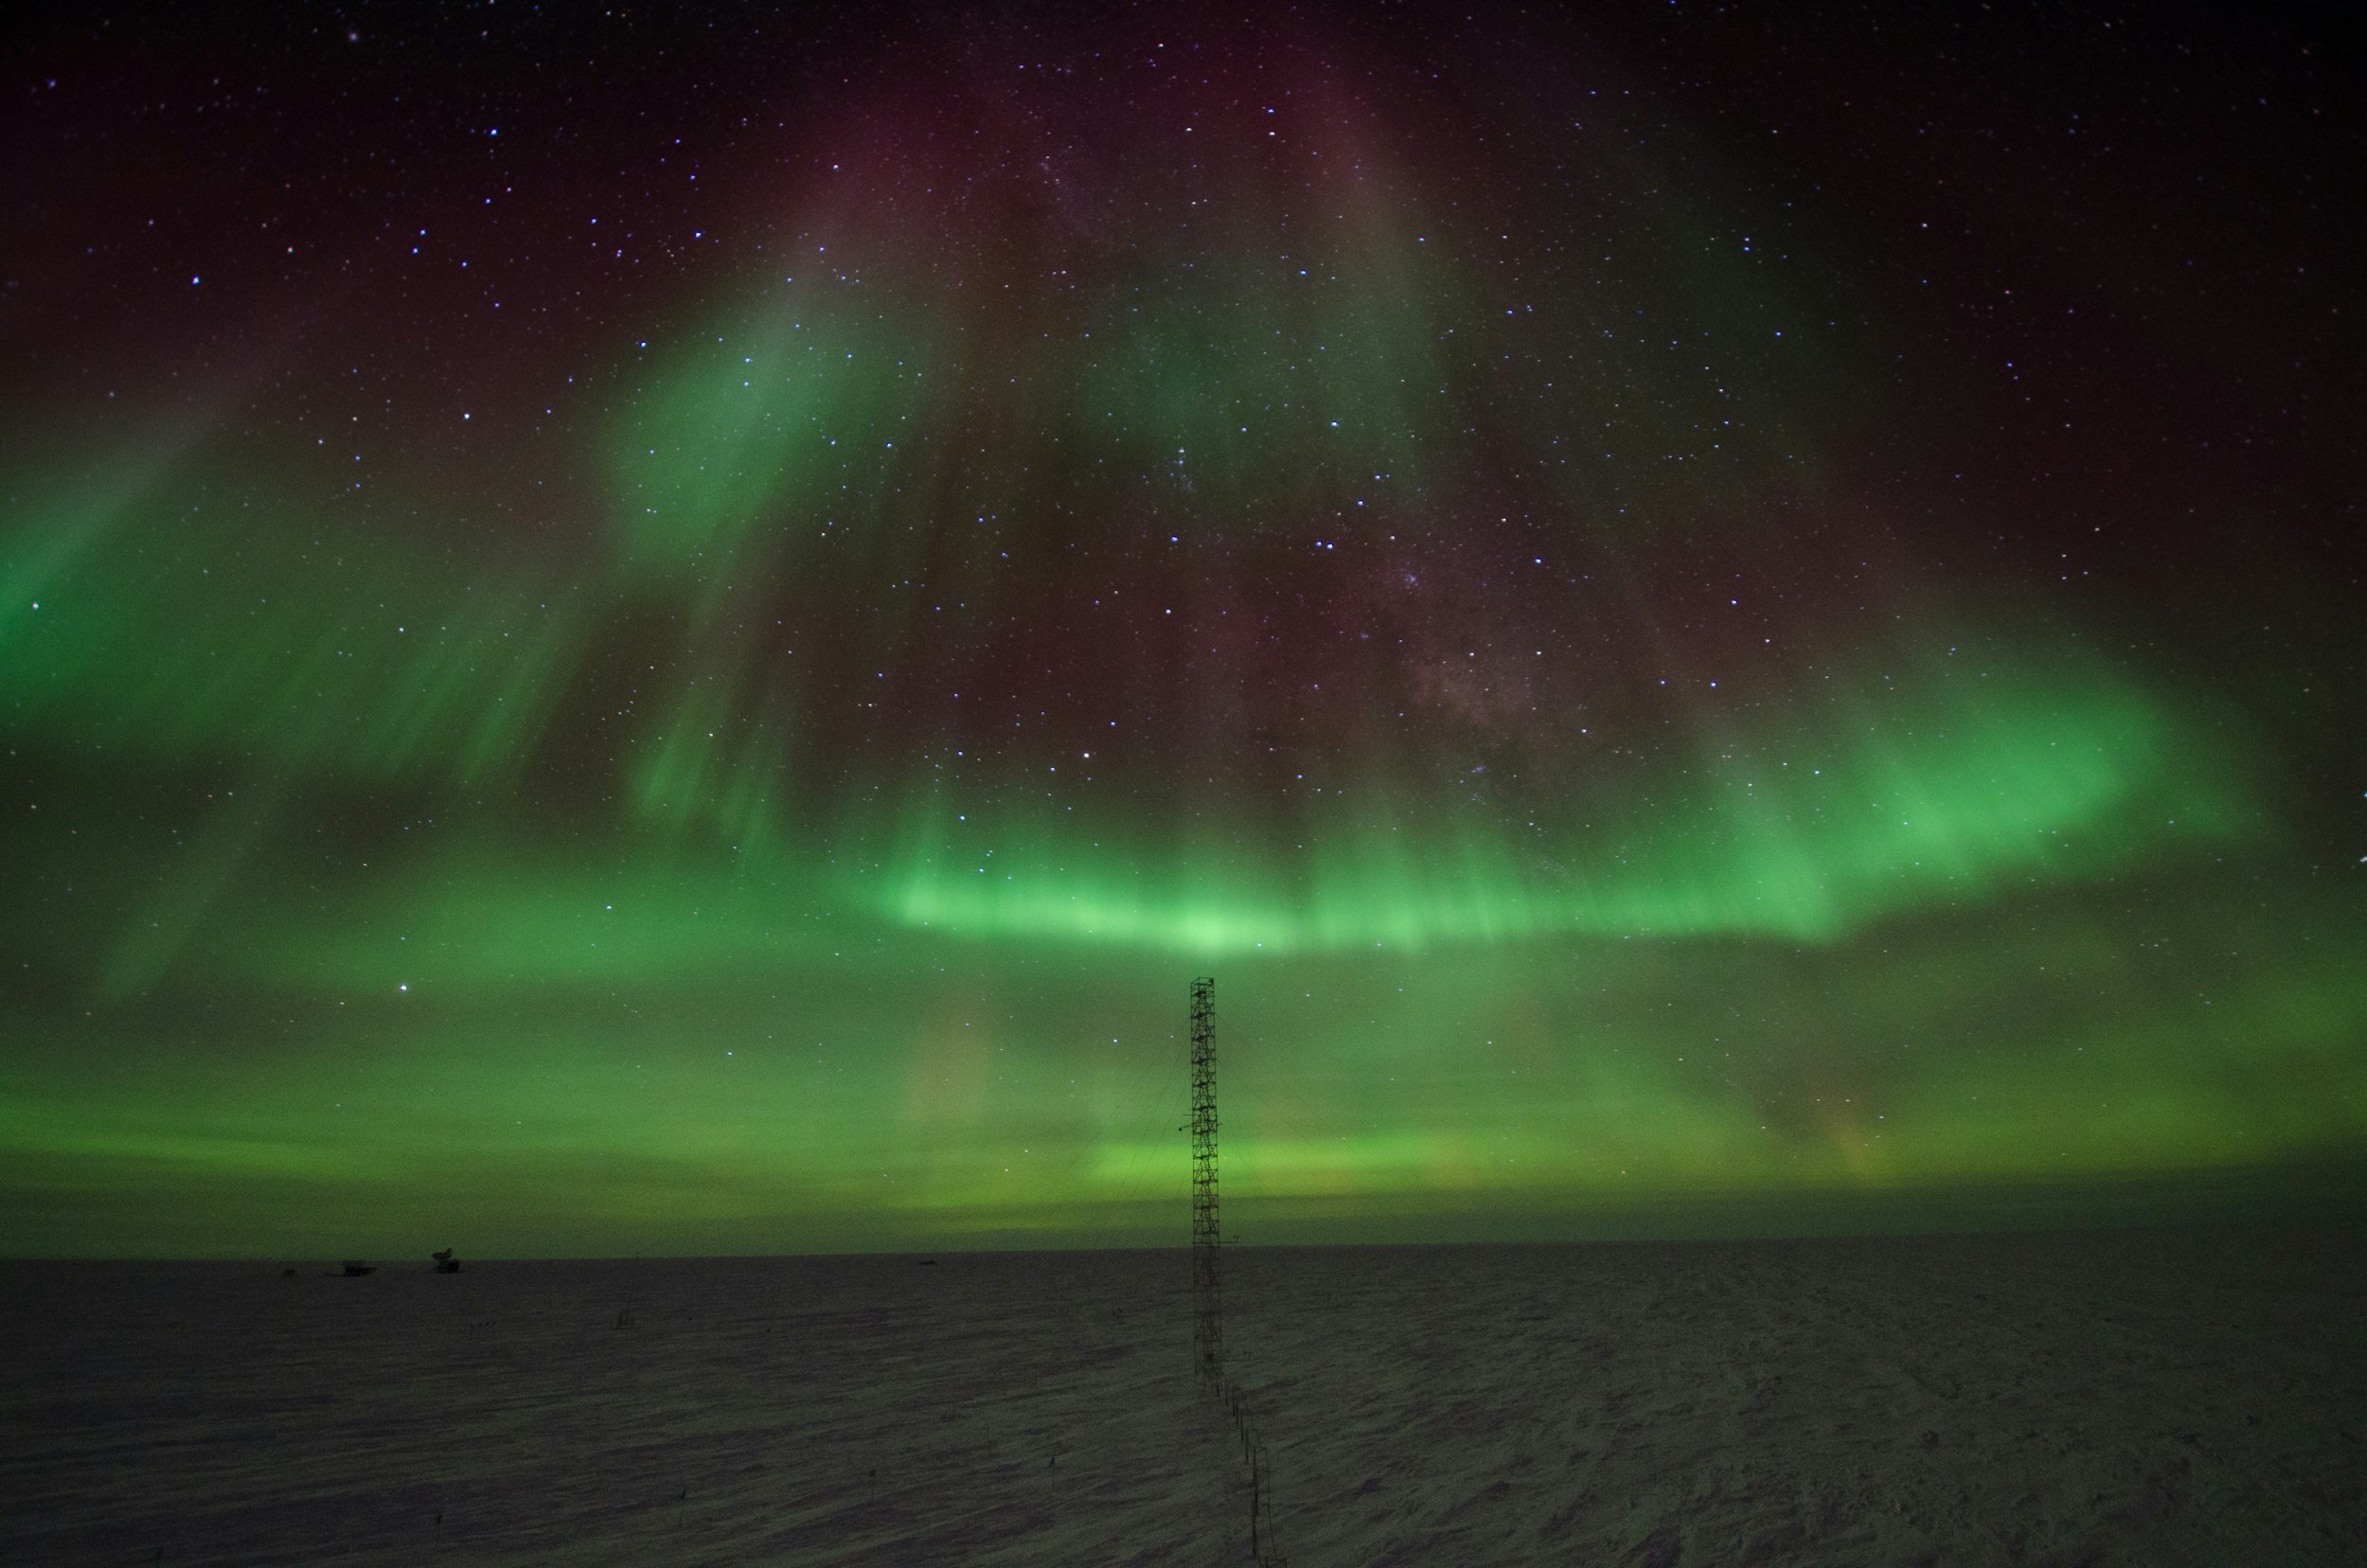
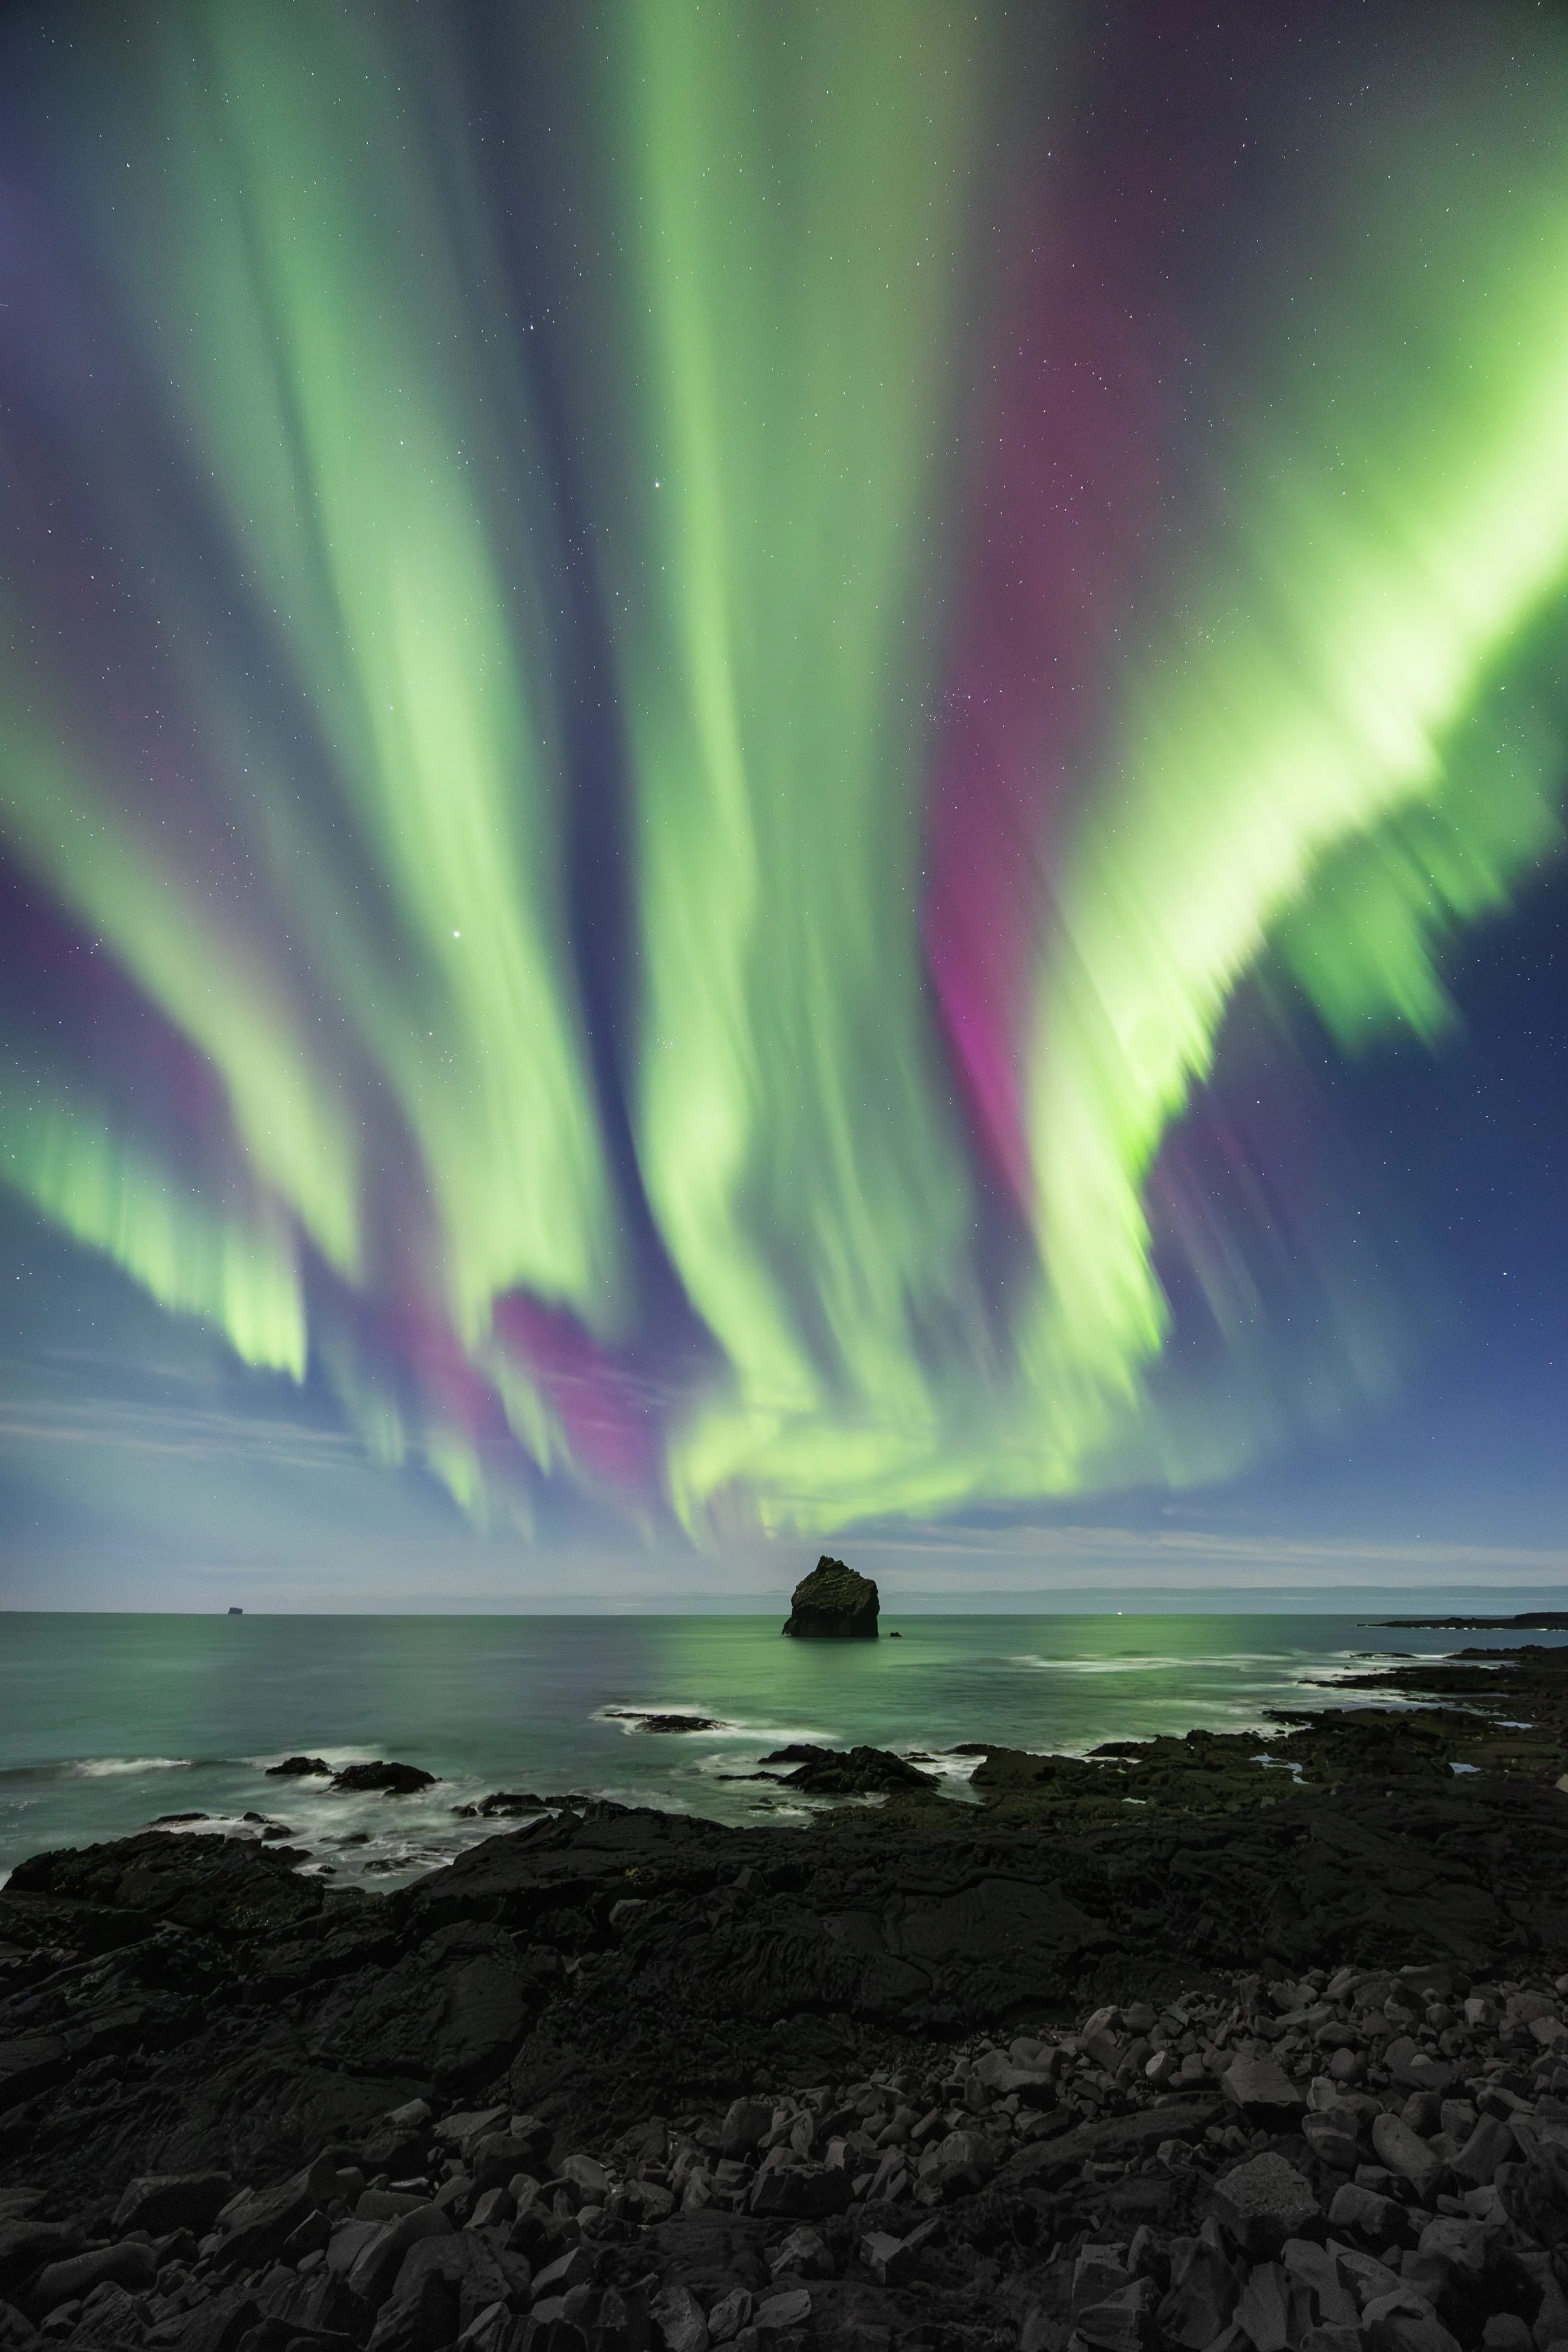
The result? Curtains of color that ripple across the Arctic sky.
Green: Most common, caused by oxygen at lower altitudes.
Red: Rare, from oxygen at high altitudes.
Purple, violet, and blue: From nitrogen collisions.
Every display is different. Sometimes the lights flicker gently like a candle. Other nights, they explode across the sky in a wild celestial ballet. That unpredictability is part of what makes them so addictive to photograph.

📍 Best Places and Times to See the Northern Lights
Timing and location are everything. You could have the perfect gear and settings but without dark skies and auroral activity, you’ll leave empty-handed.
When to Go :
The Northern Lights are visible roughly from late September to early April—when the nights are longest and darkest. I always plan my aurora trips around:
New moon periods (to avoid moonlight washing out the sky)
Clear weather forecasts
At least a 5-day window, to increase my chances
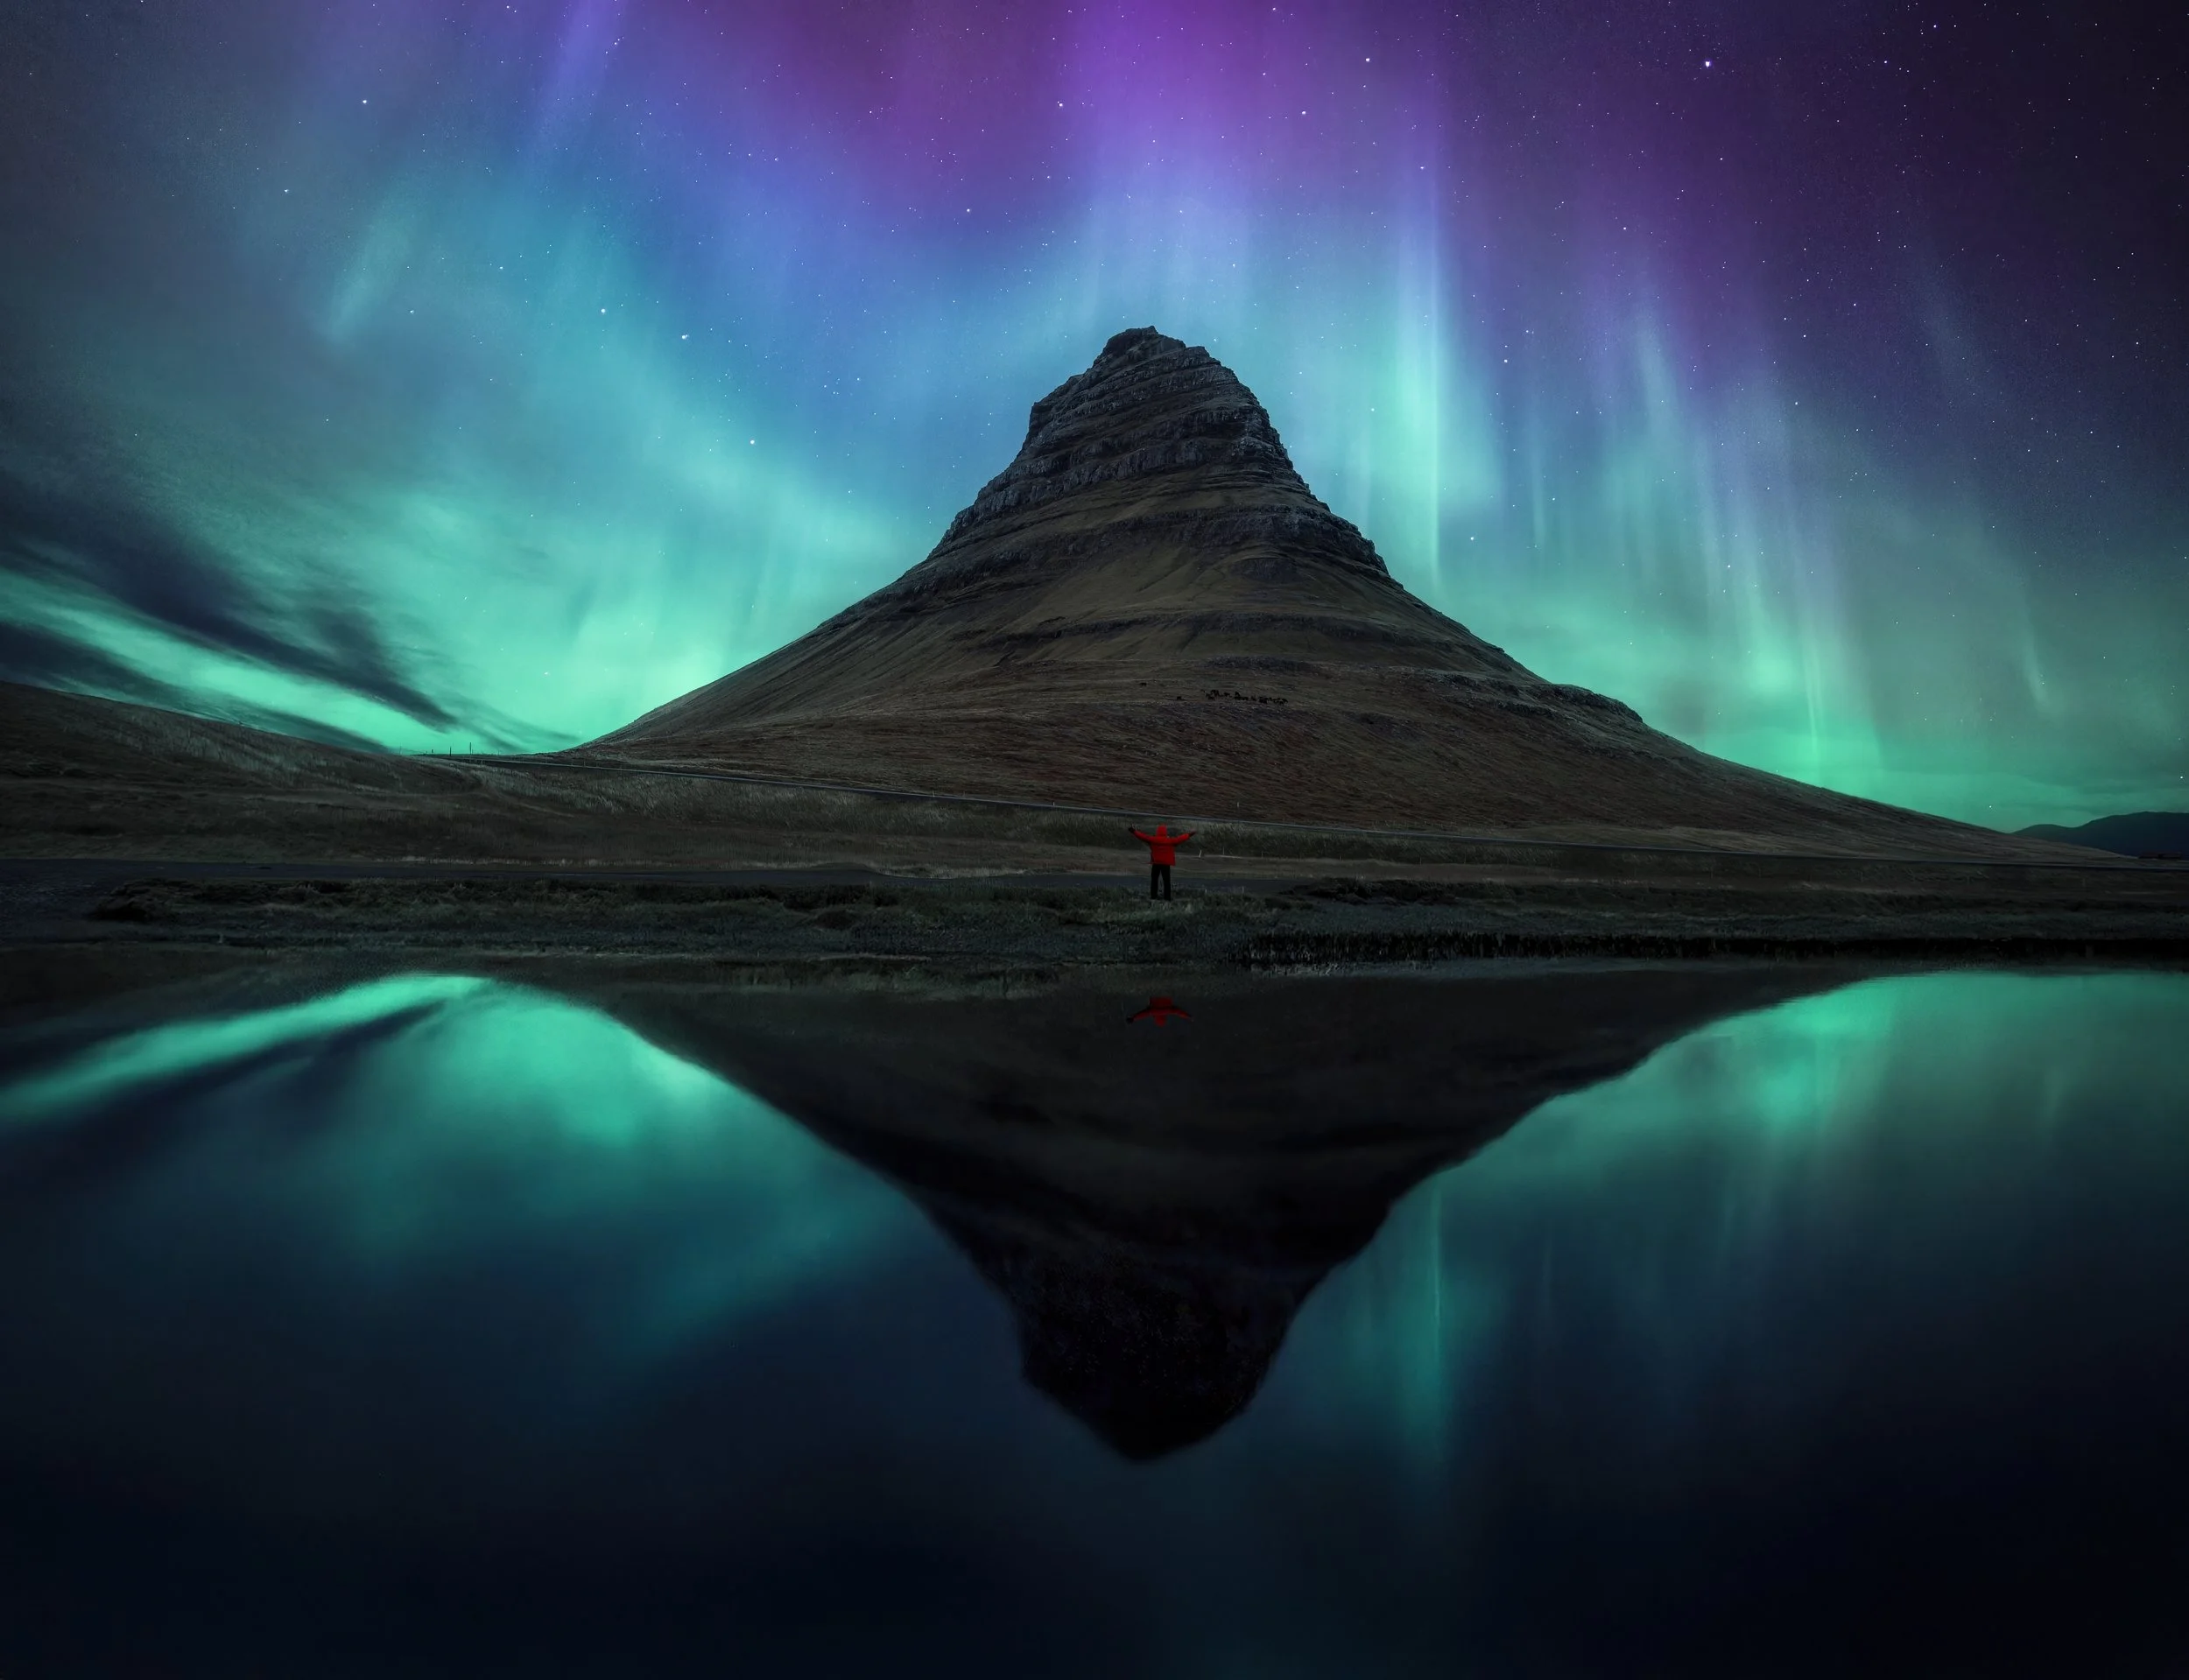
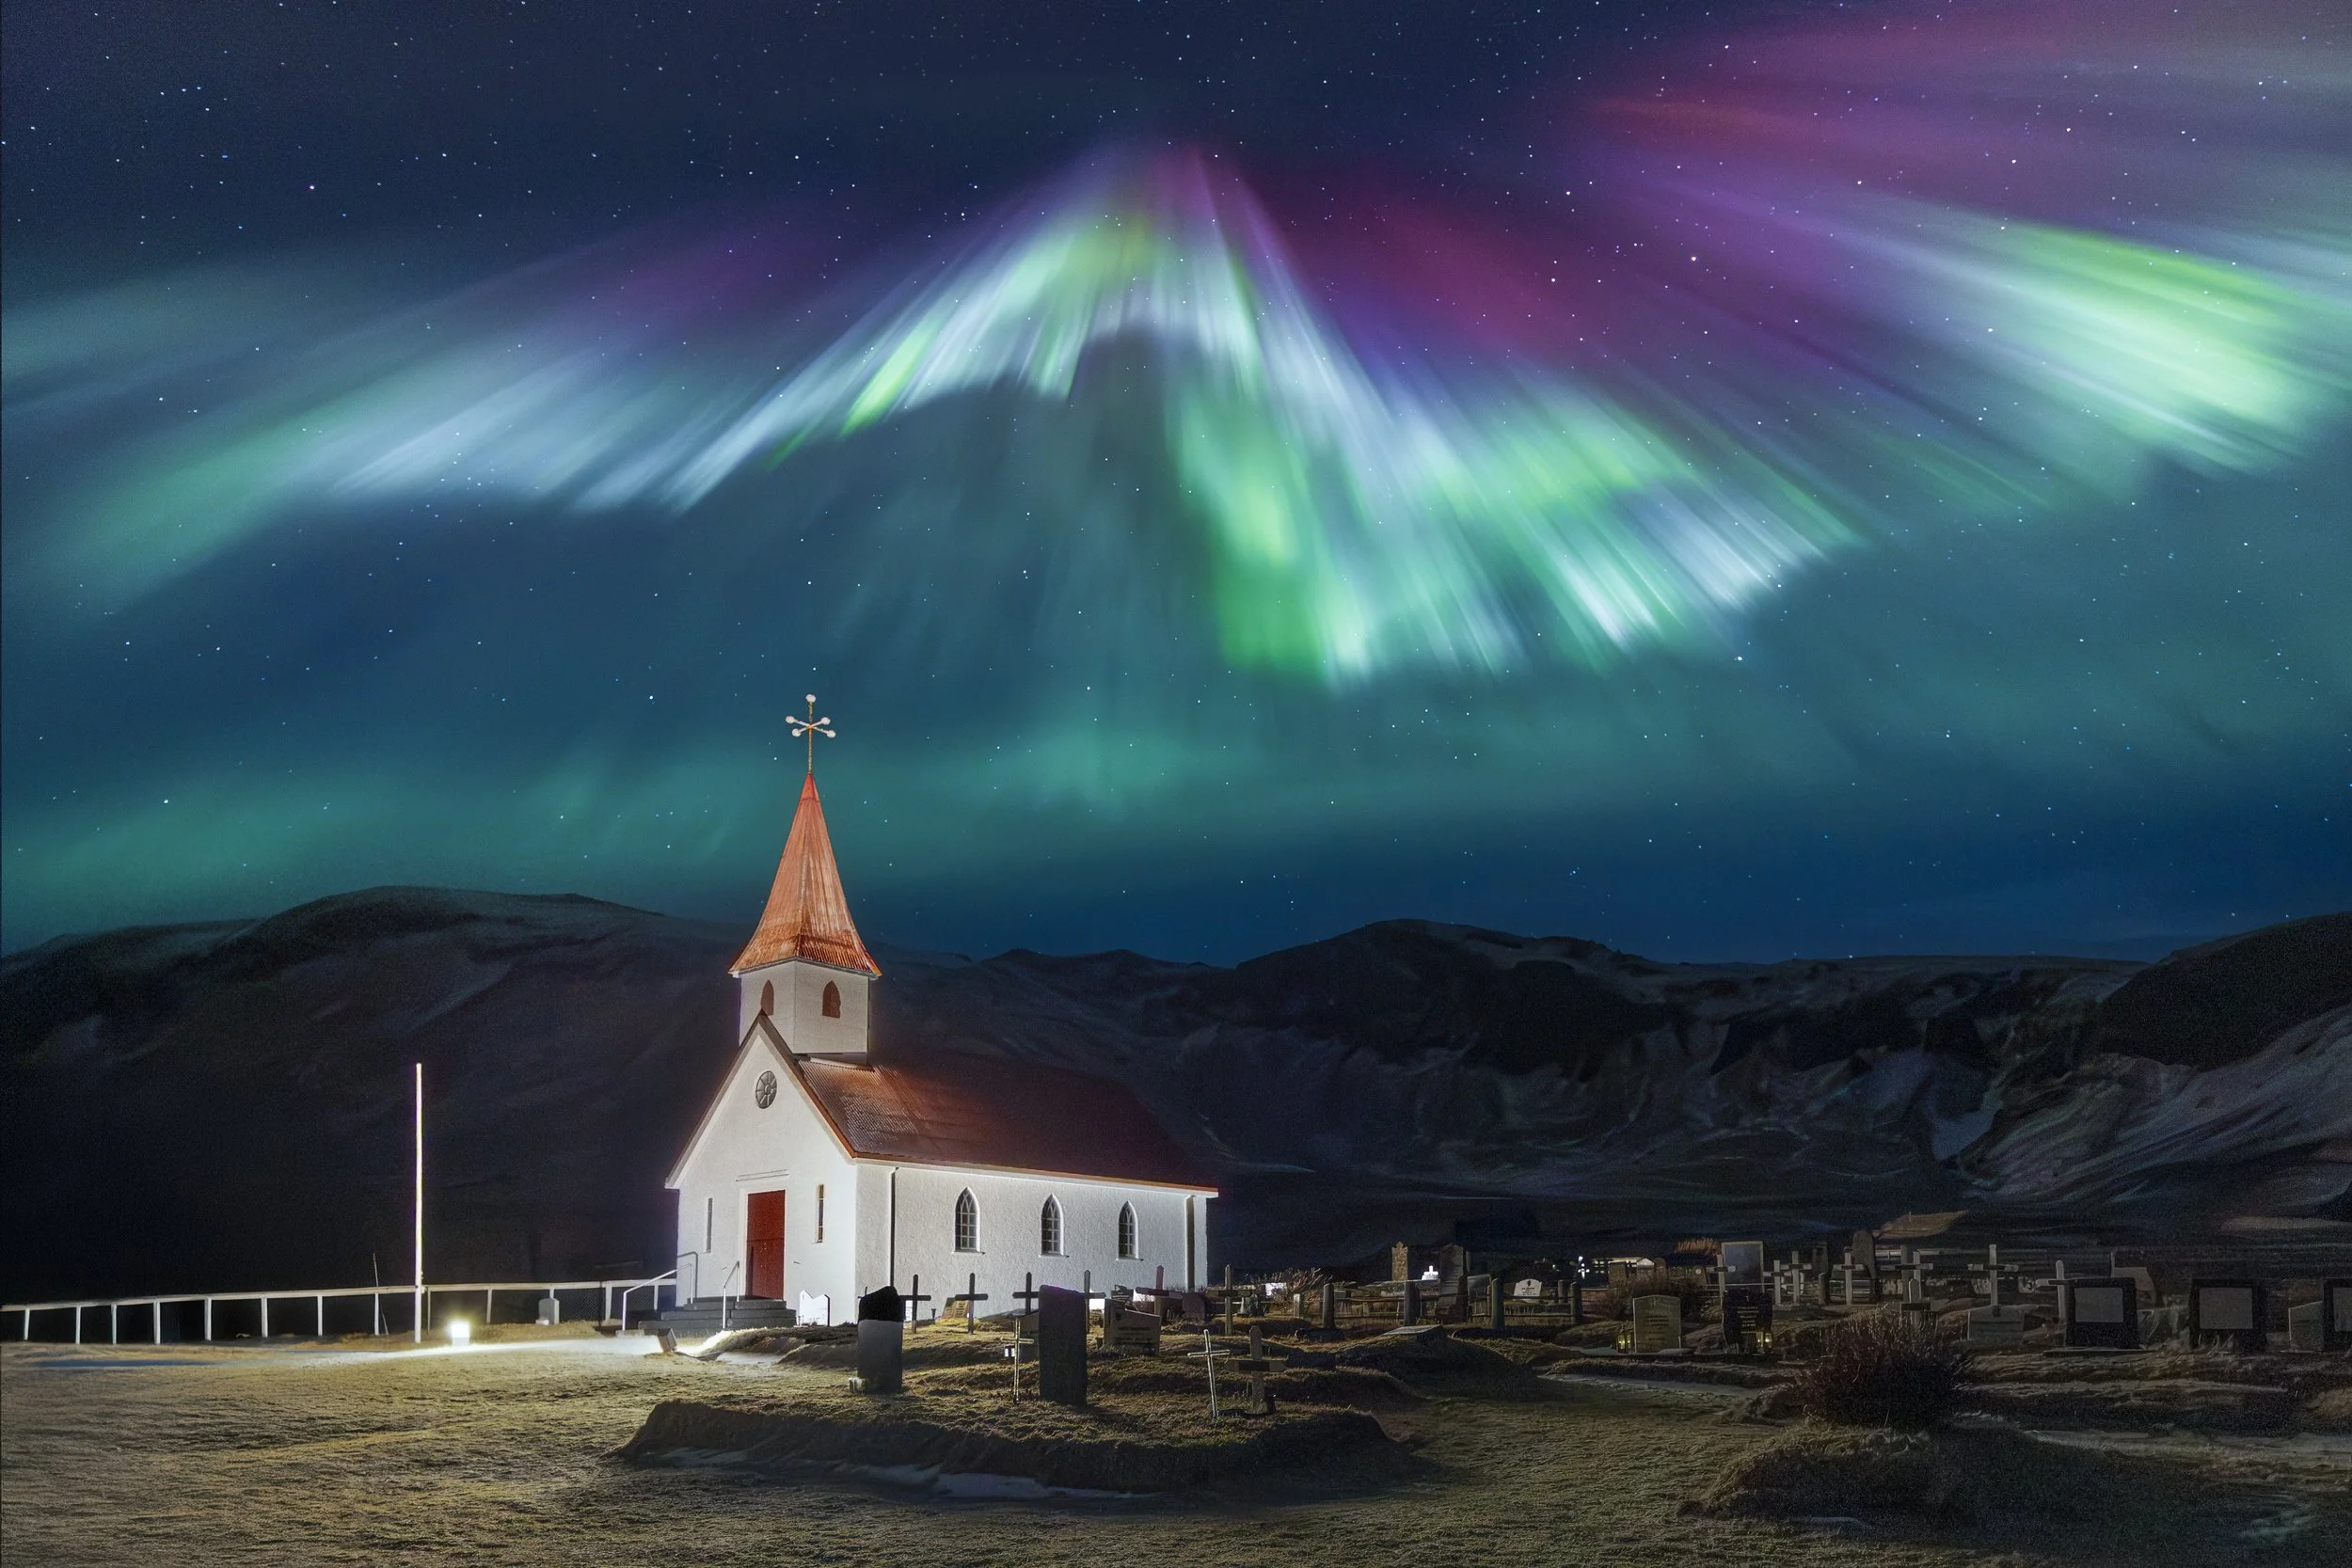
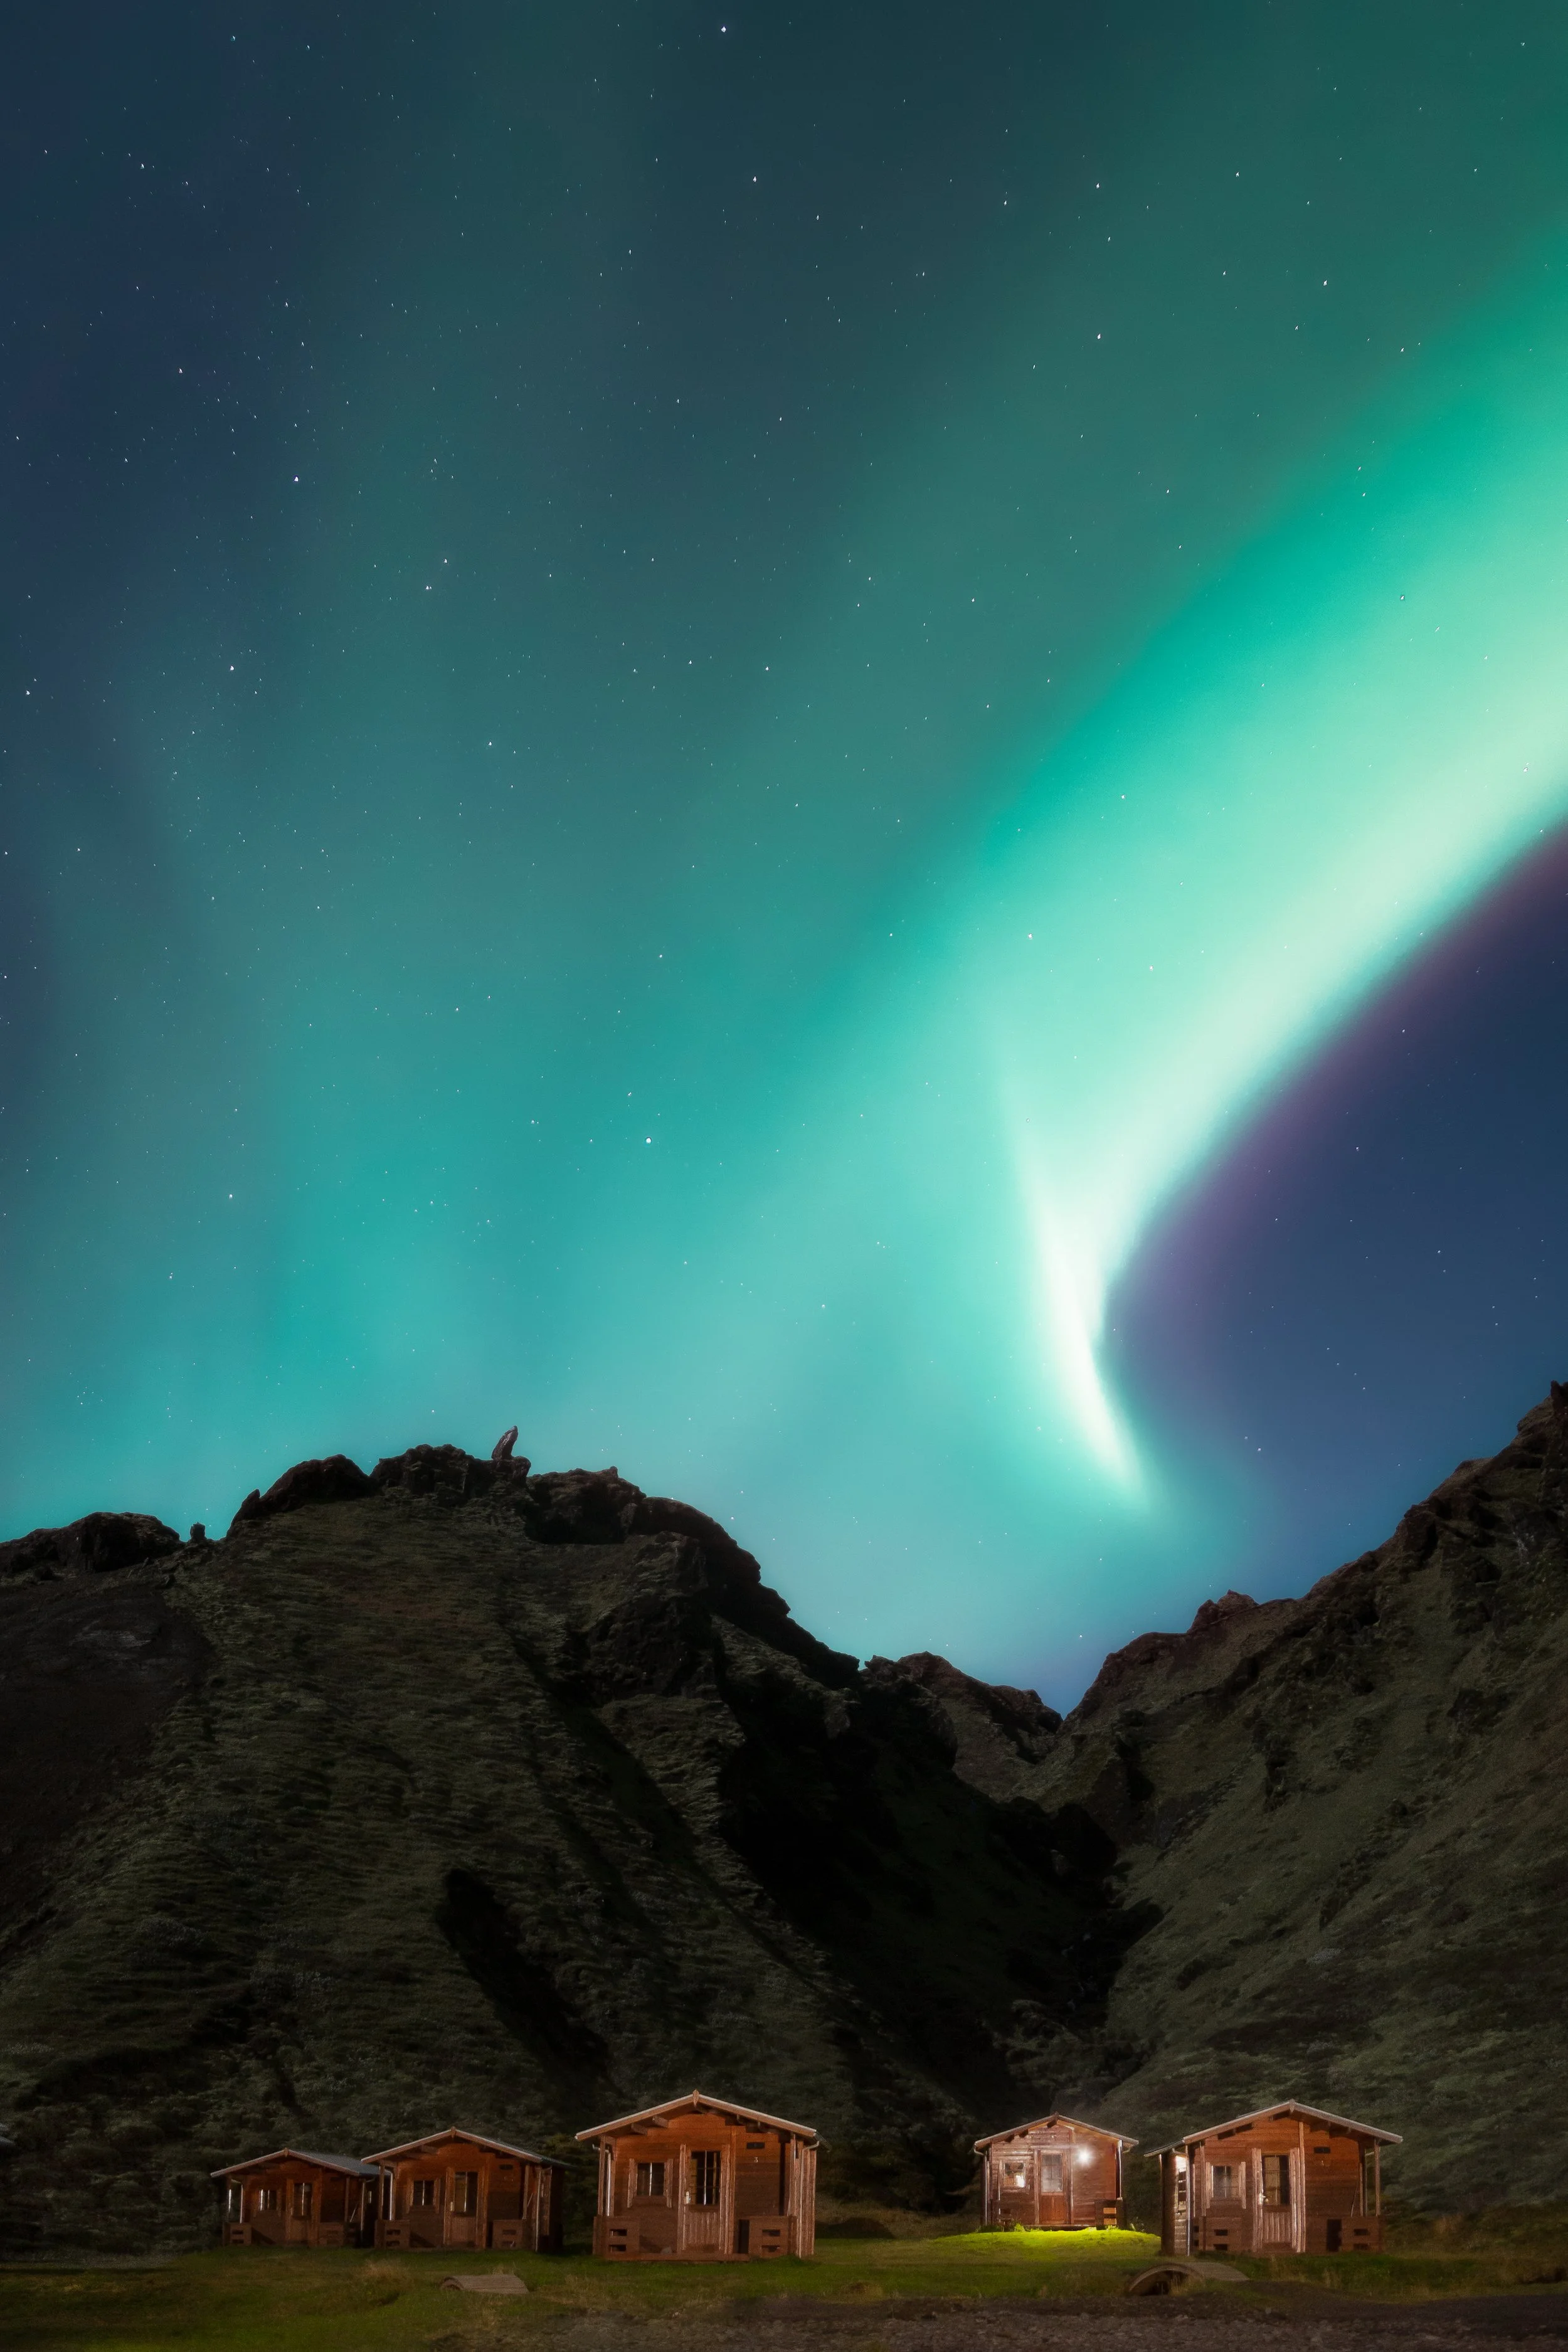
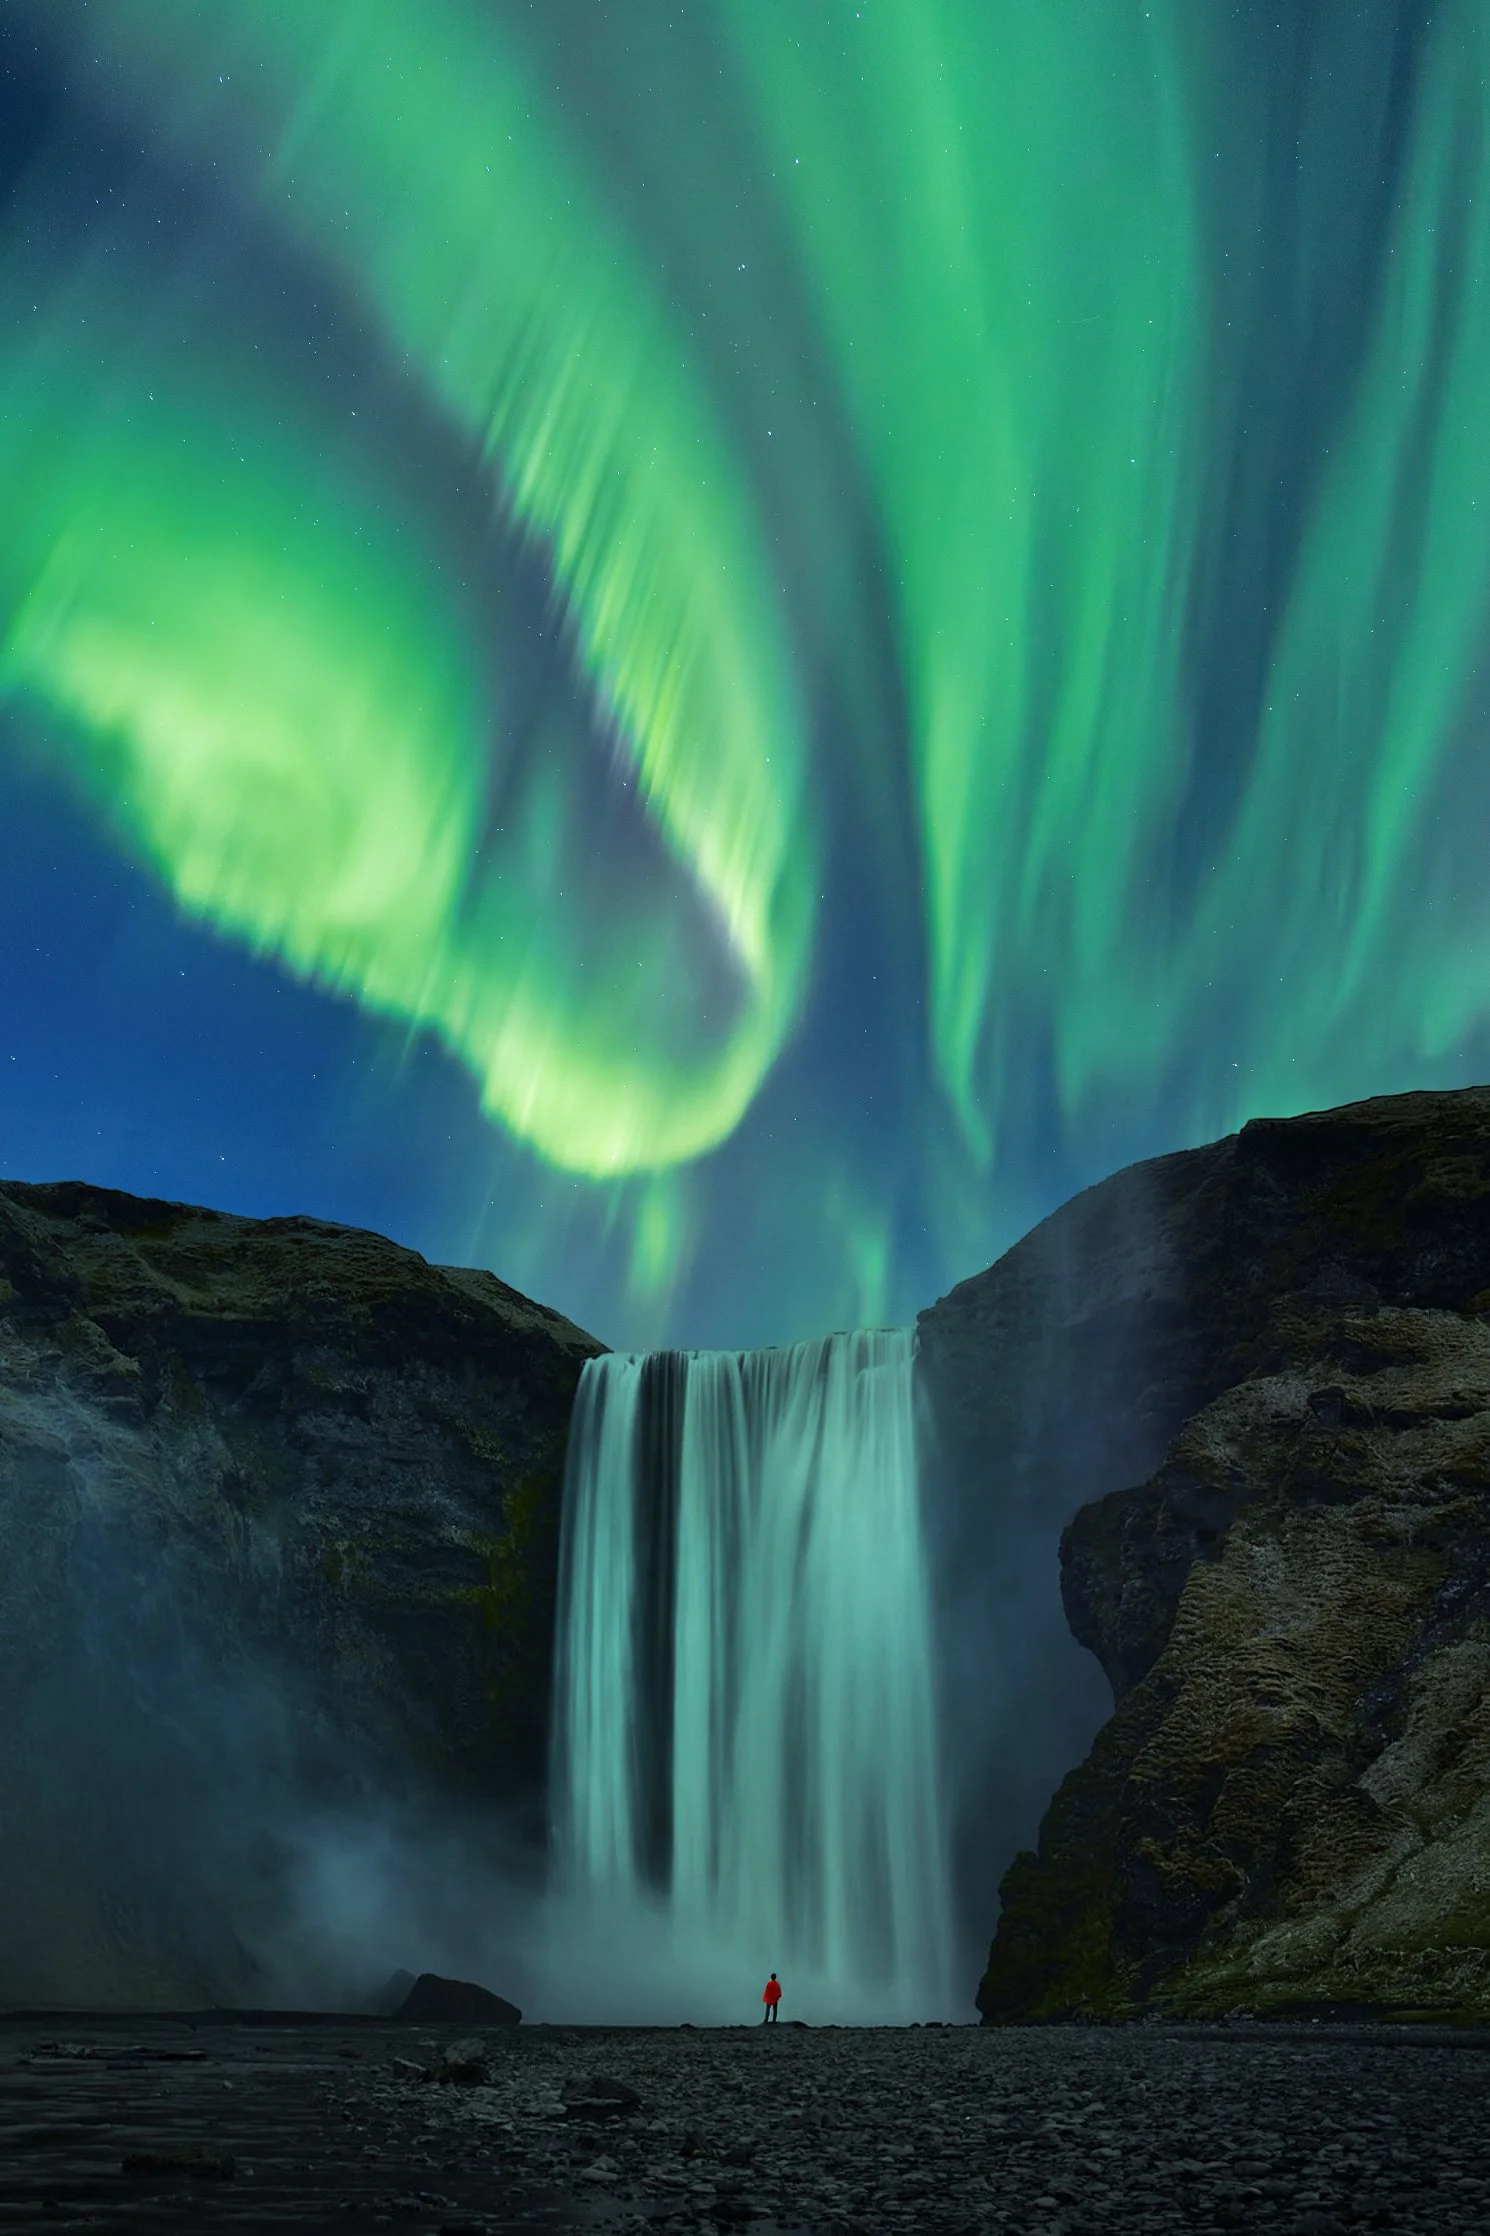
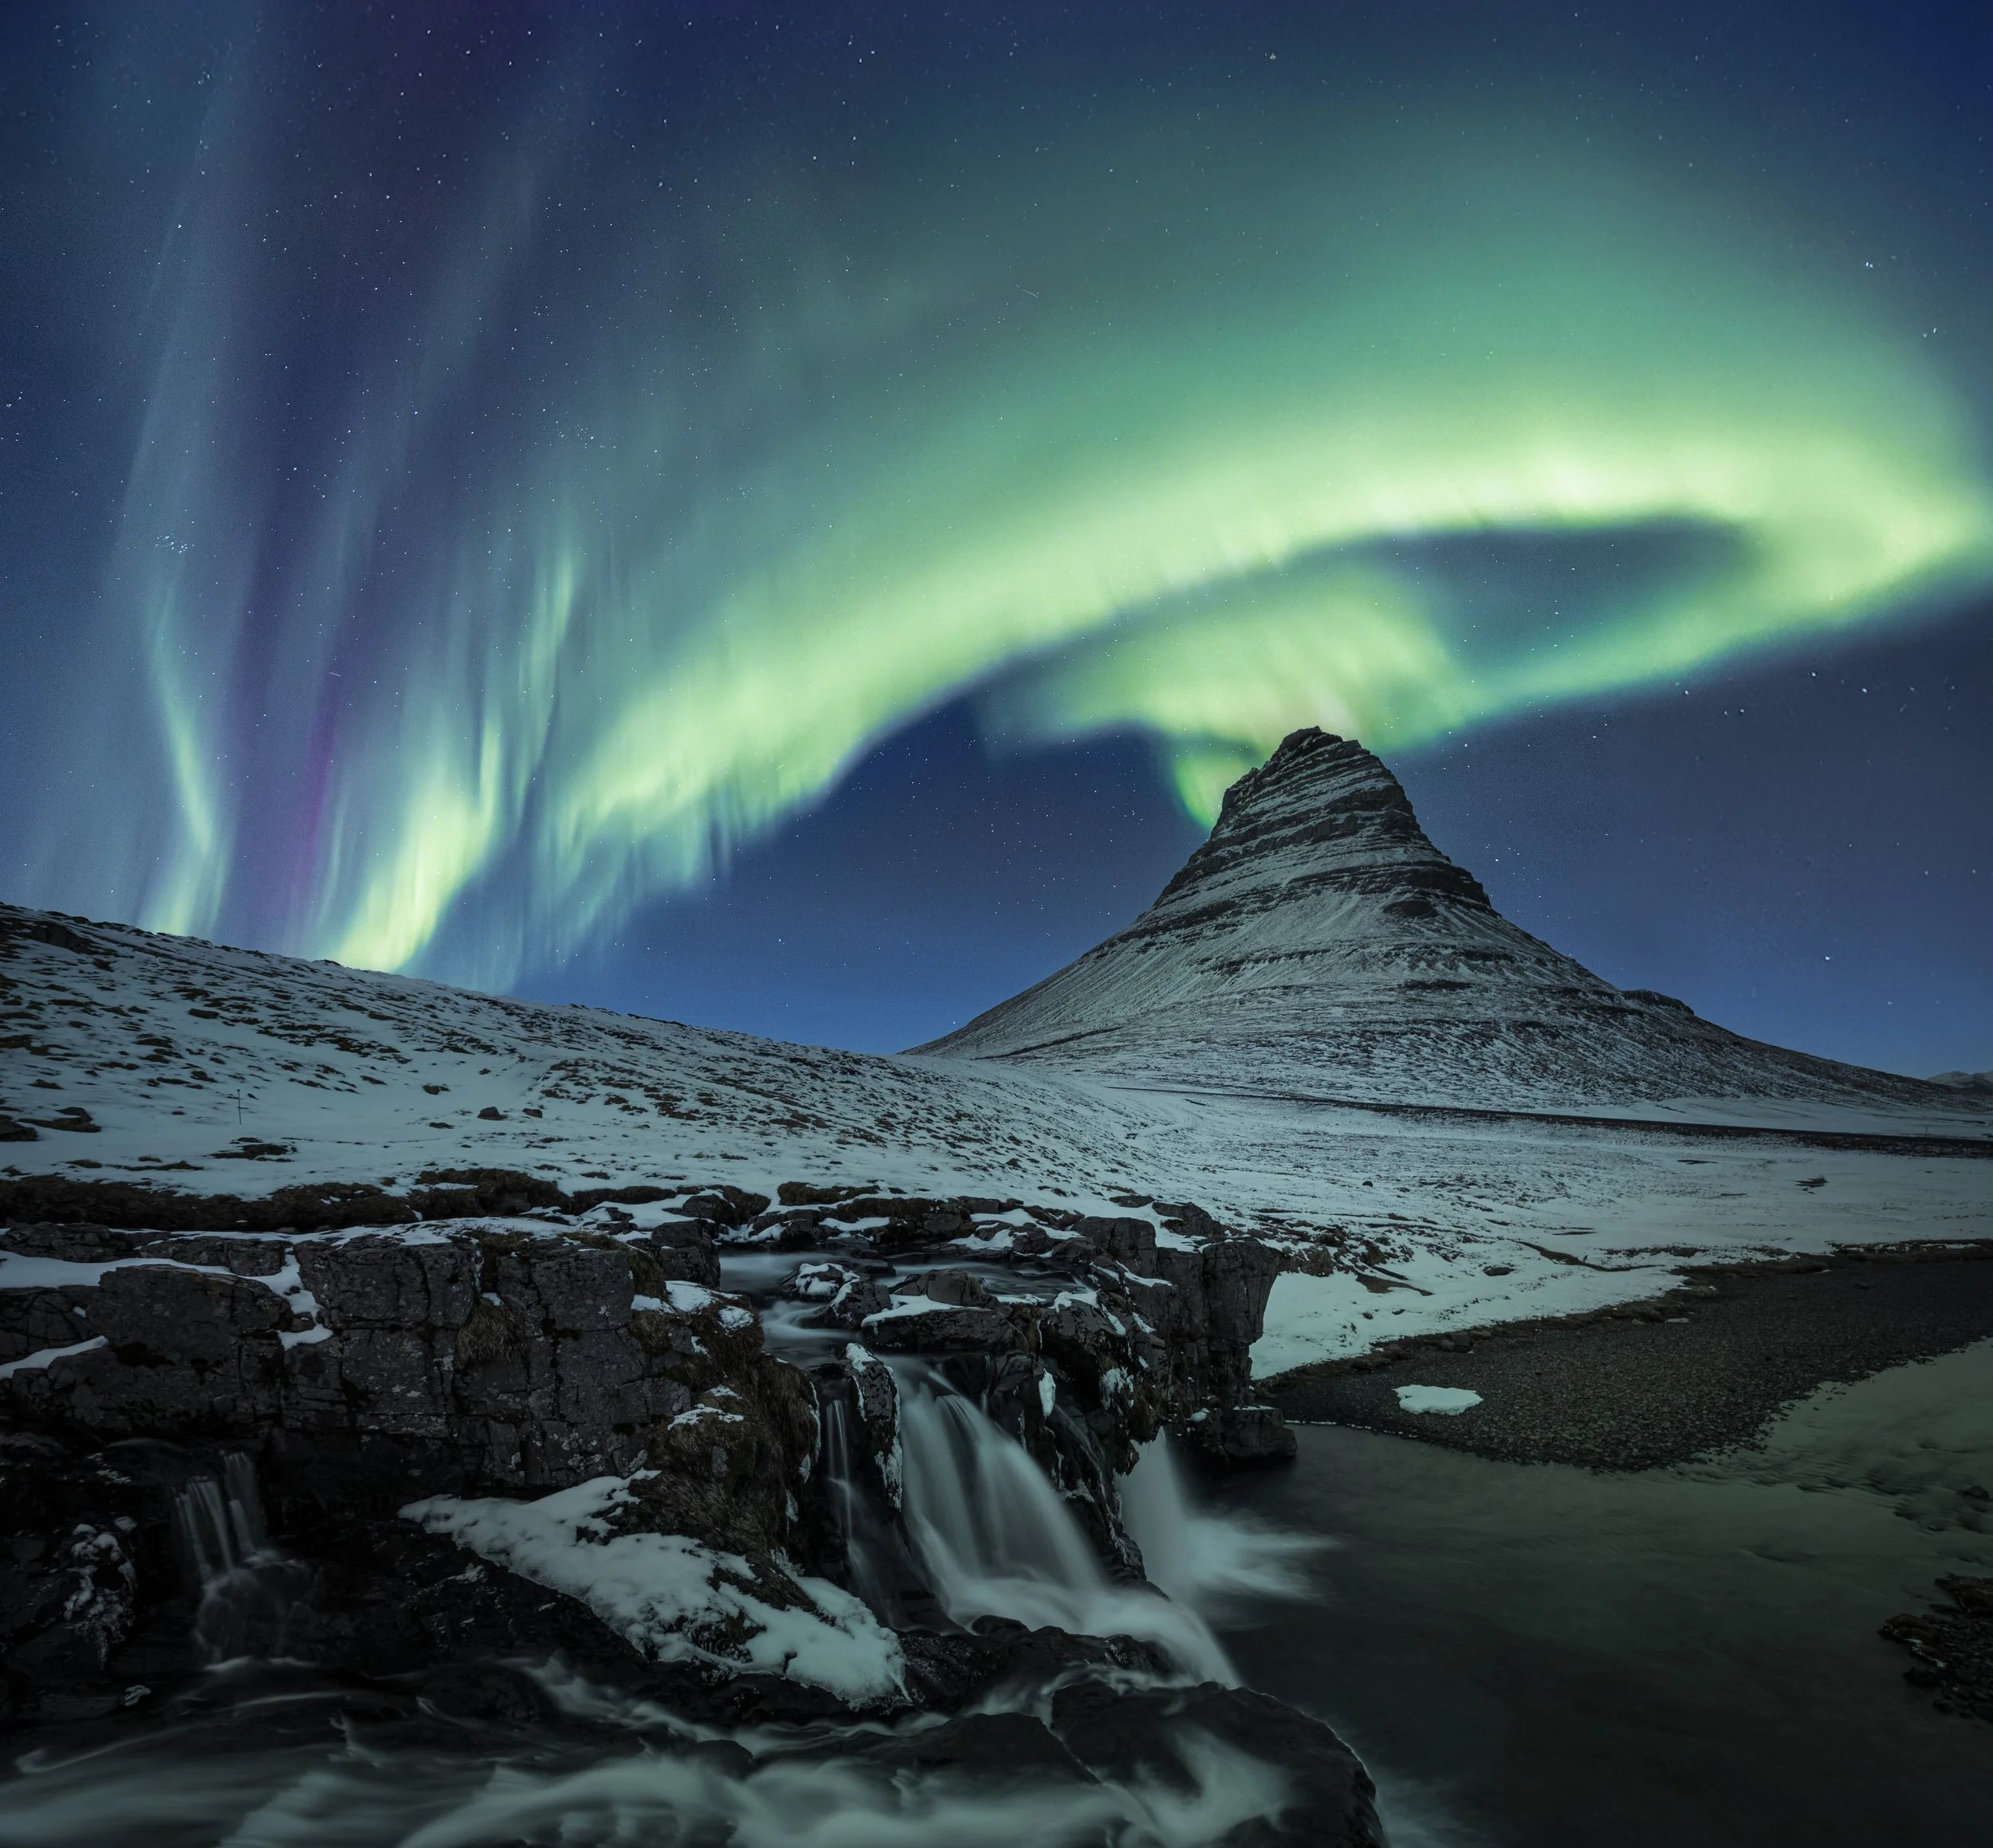
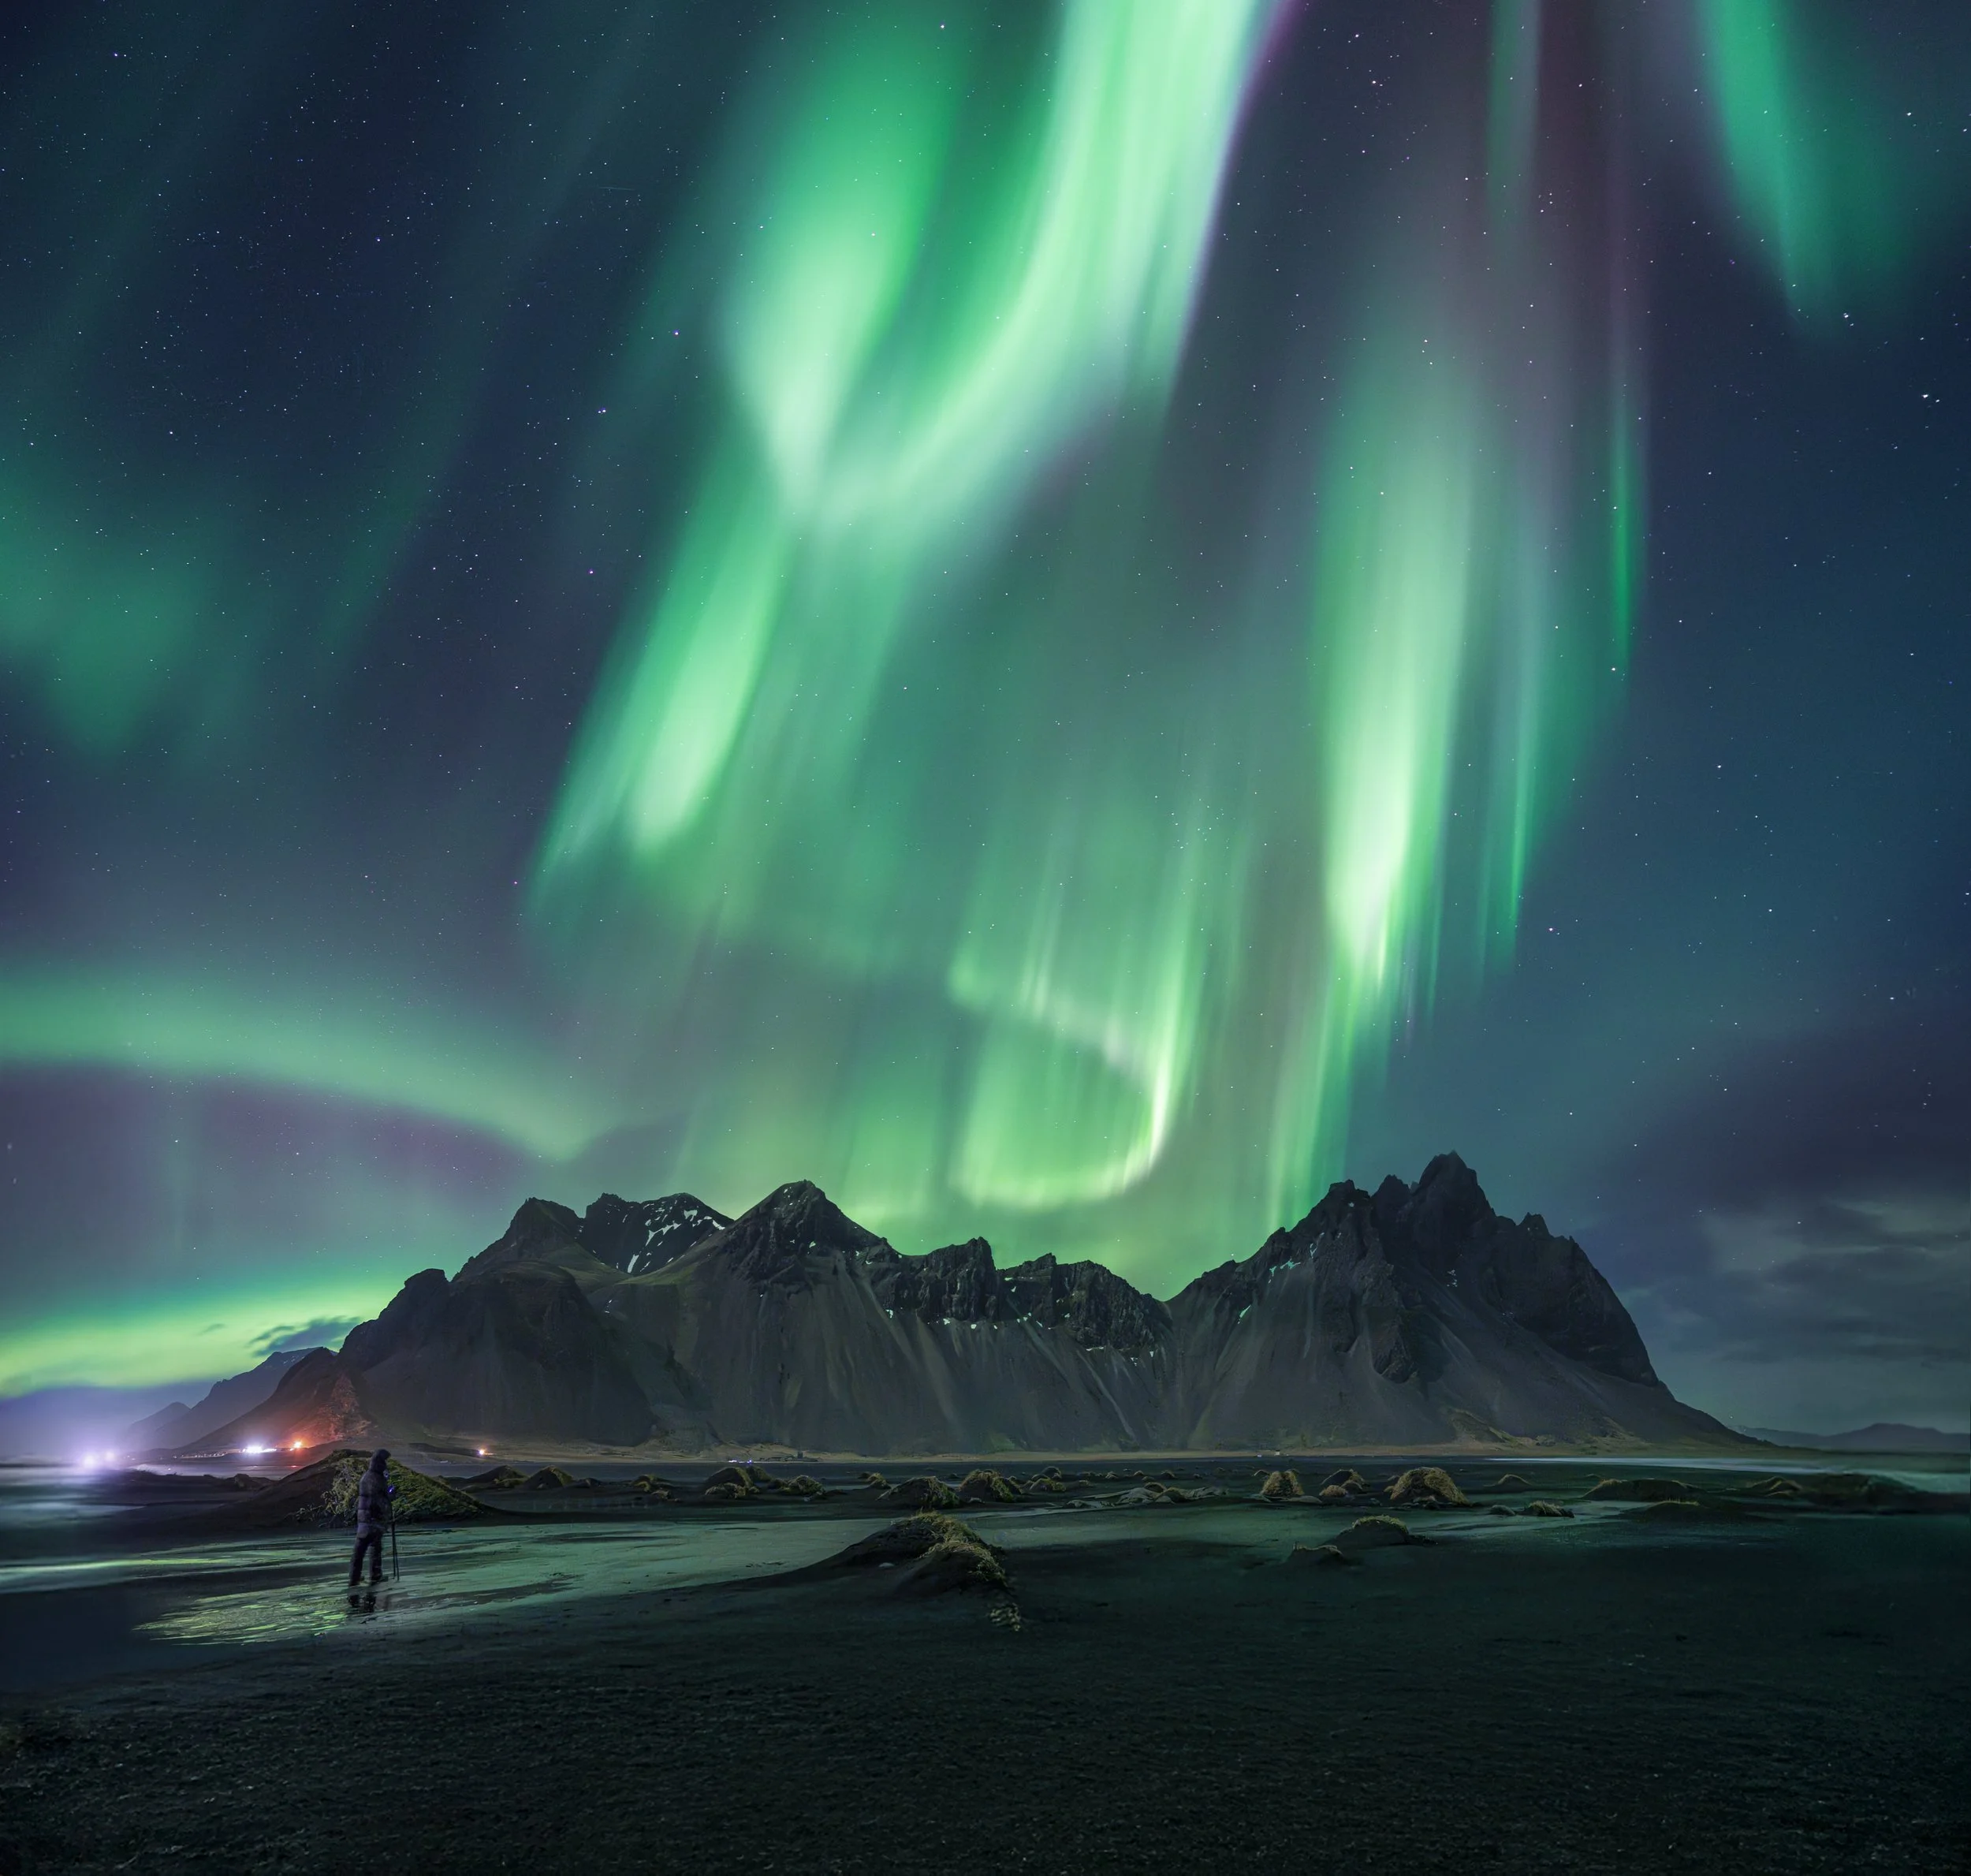
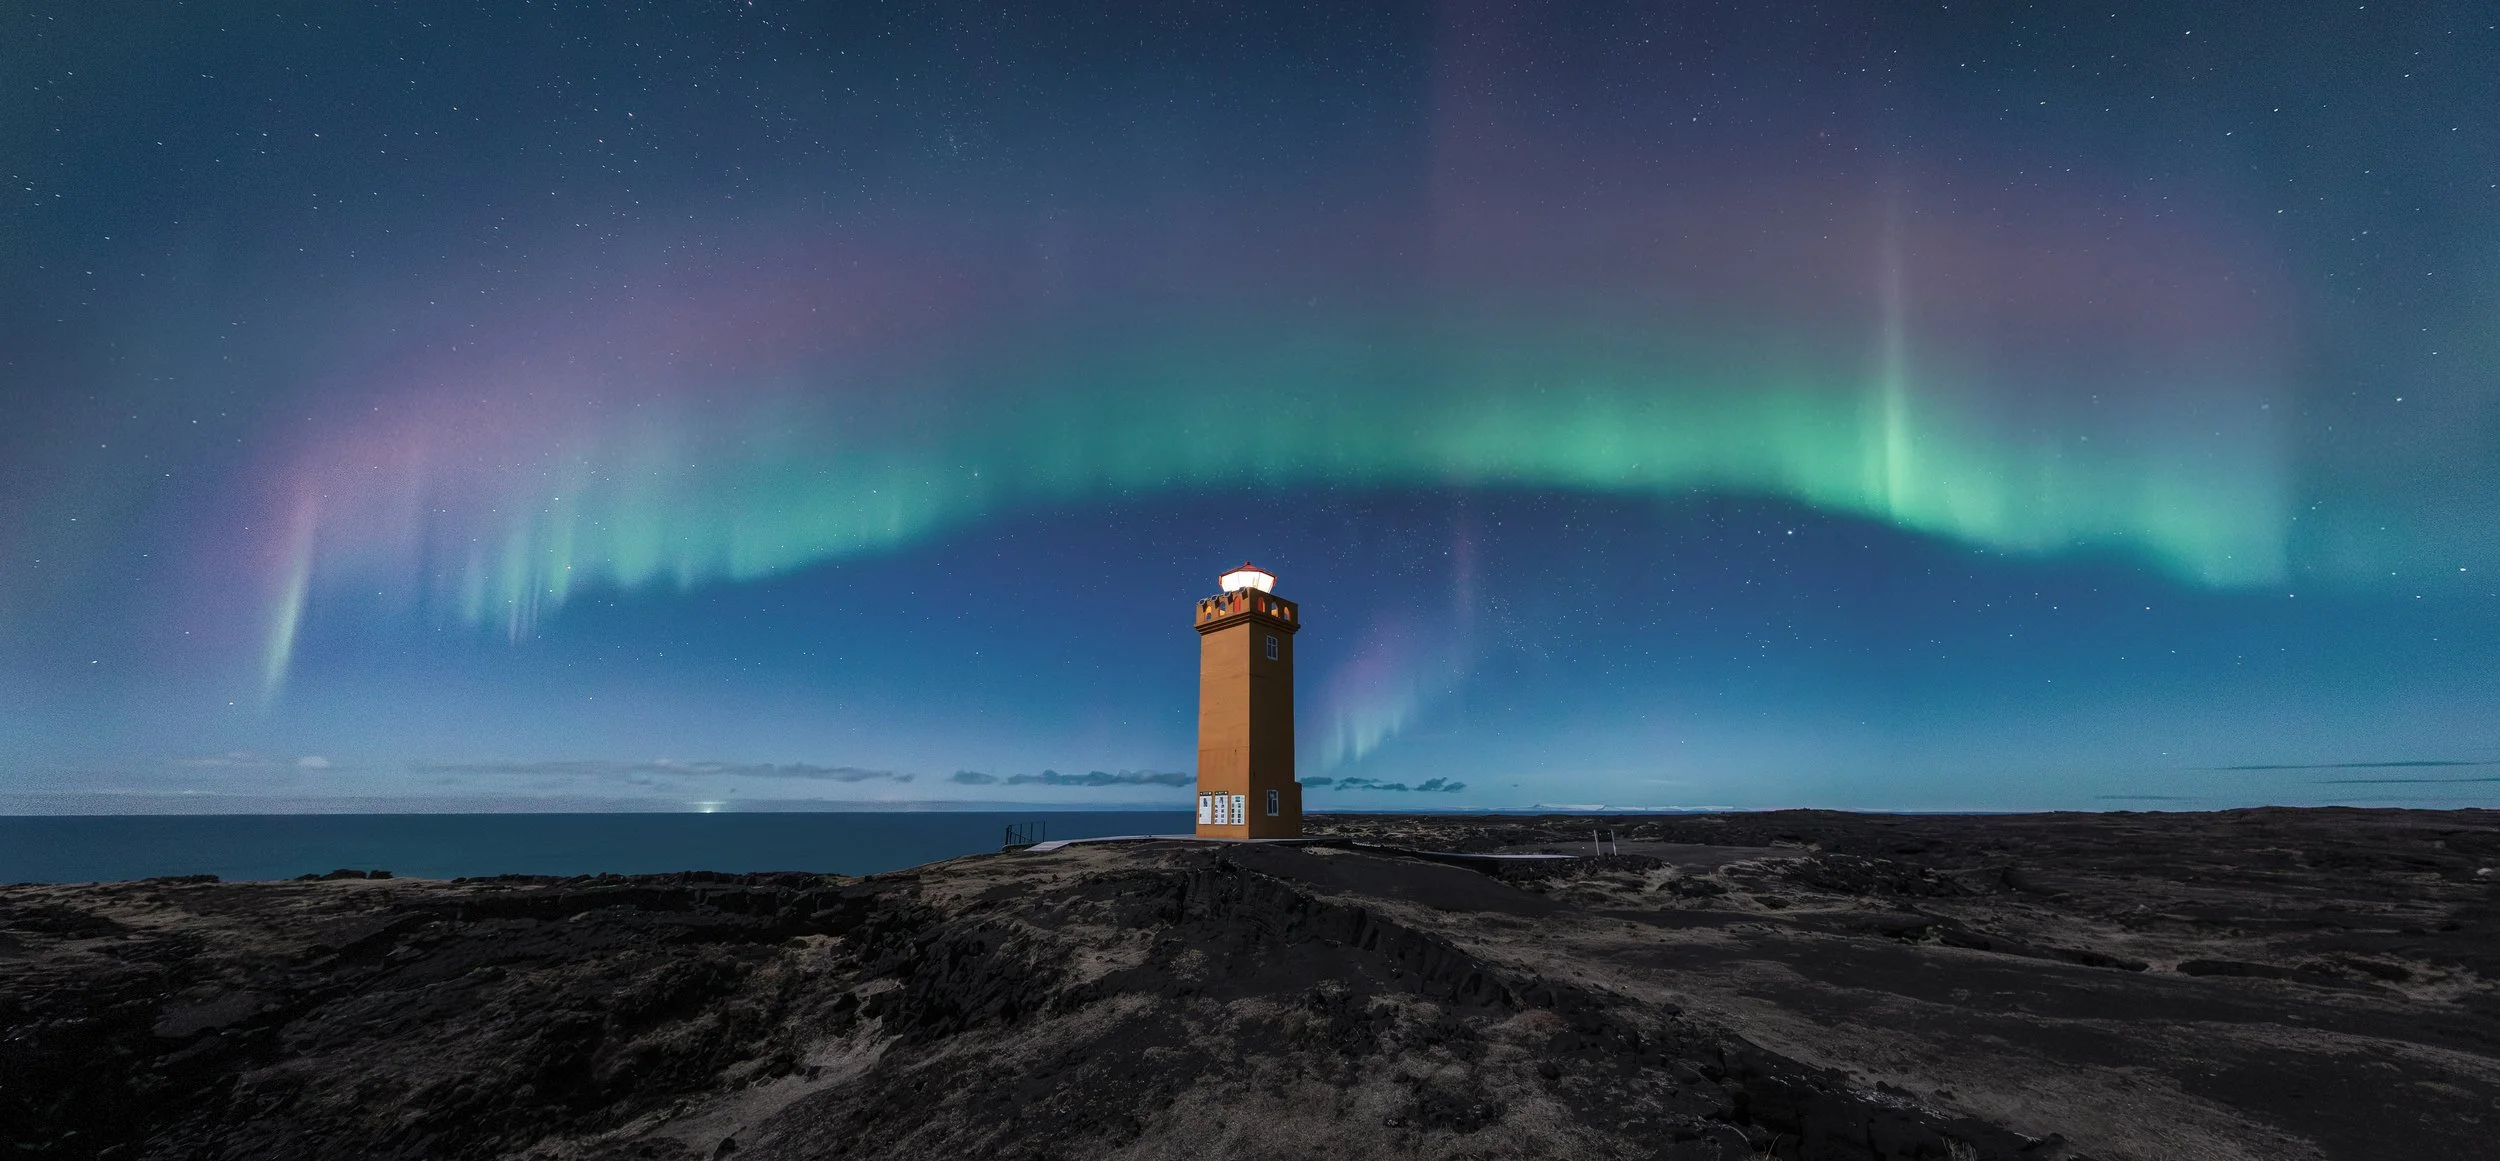
Iceland
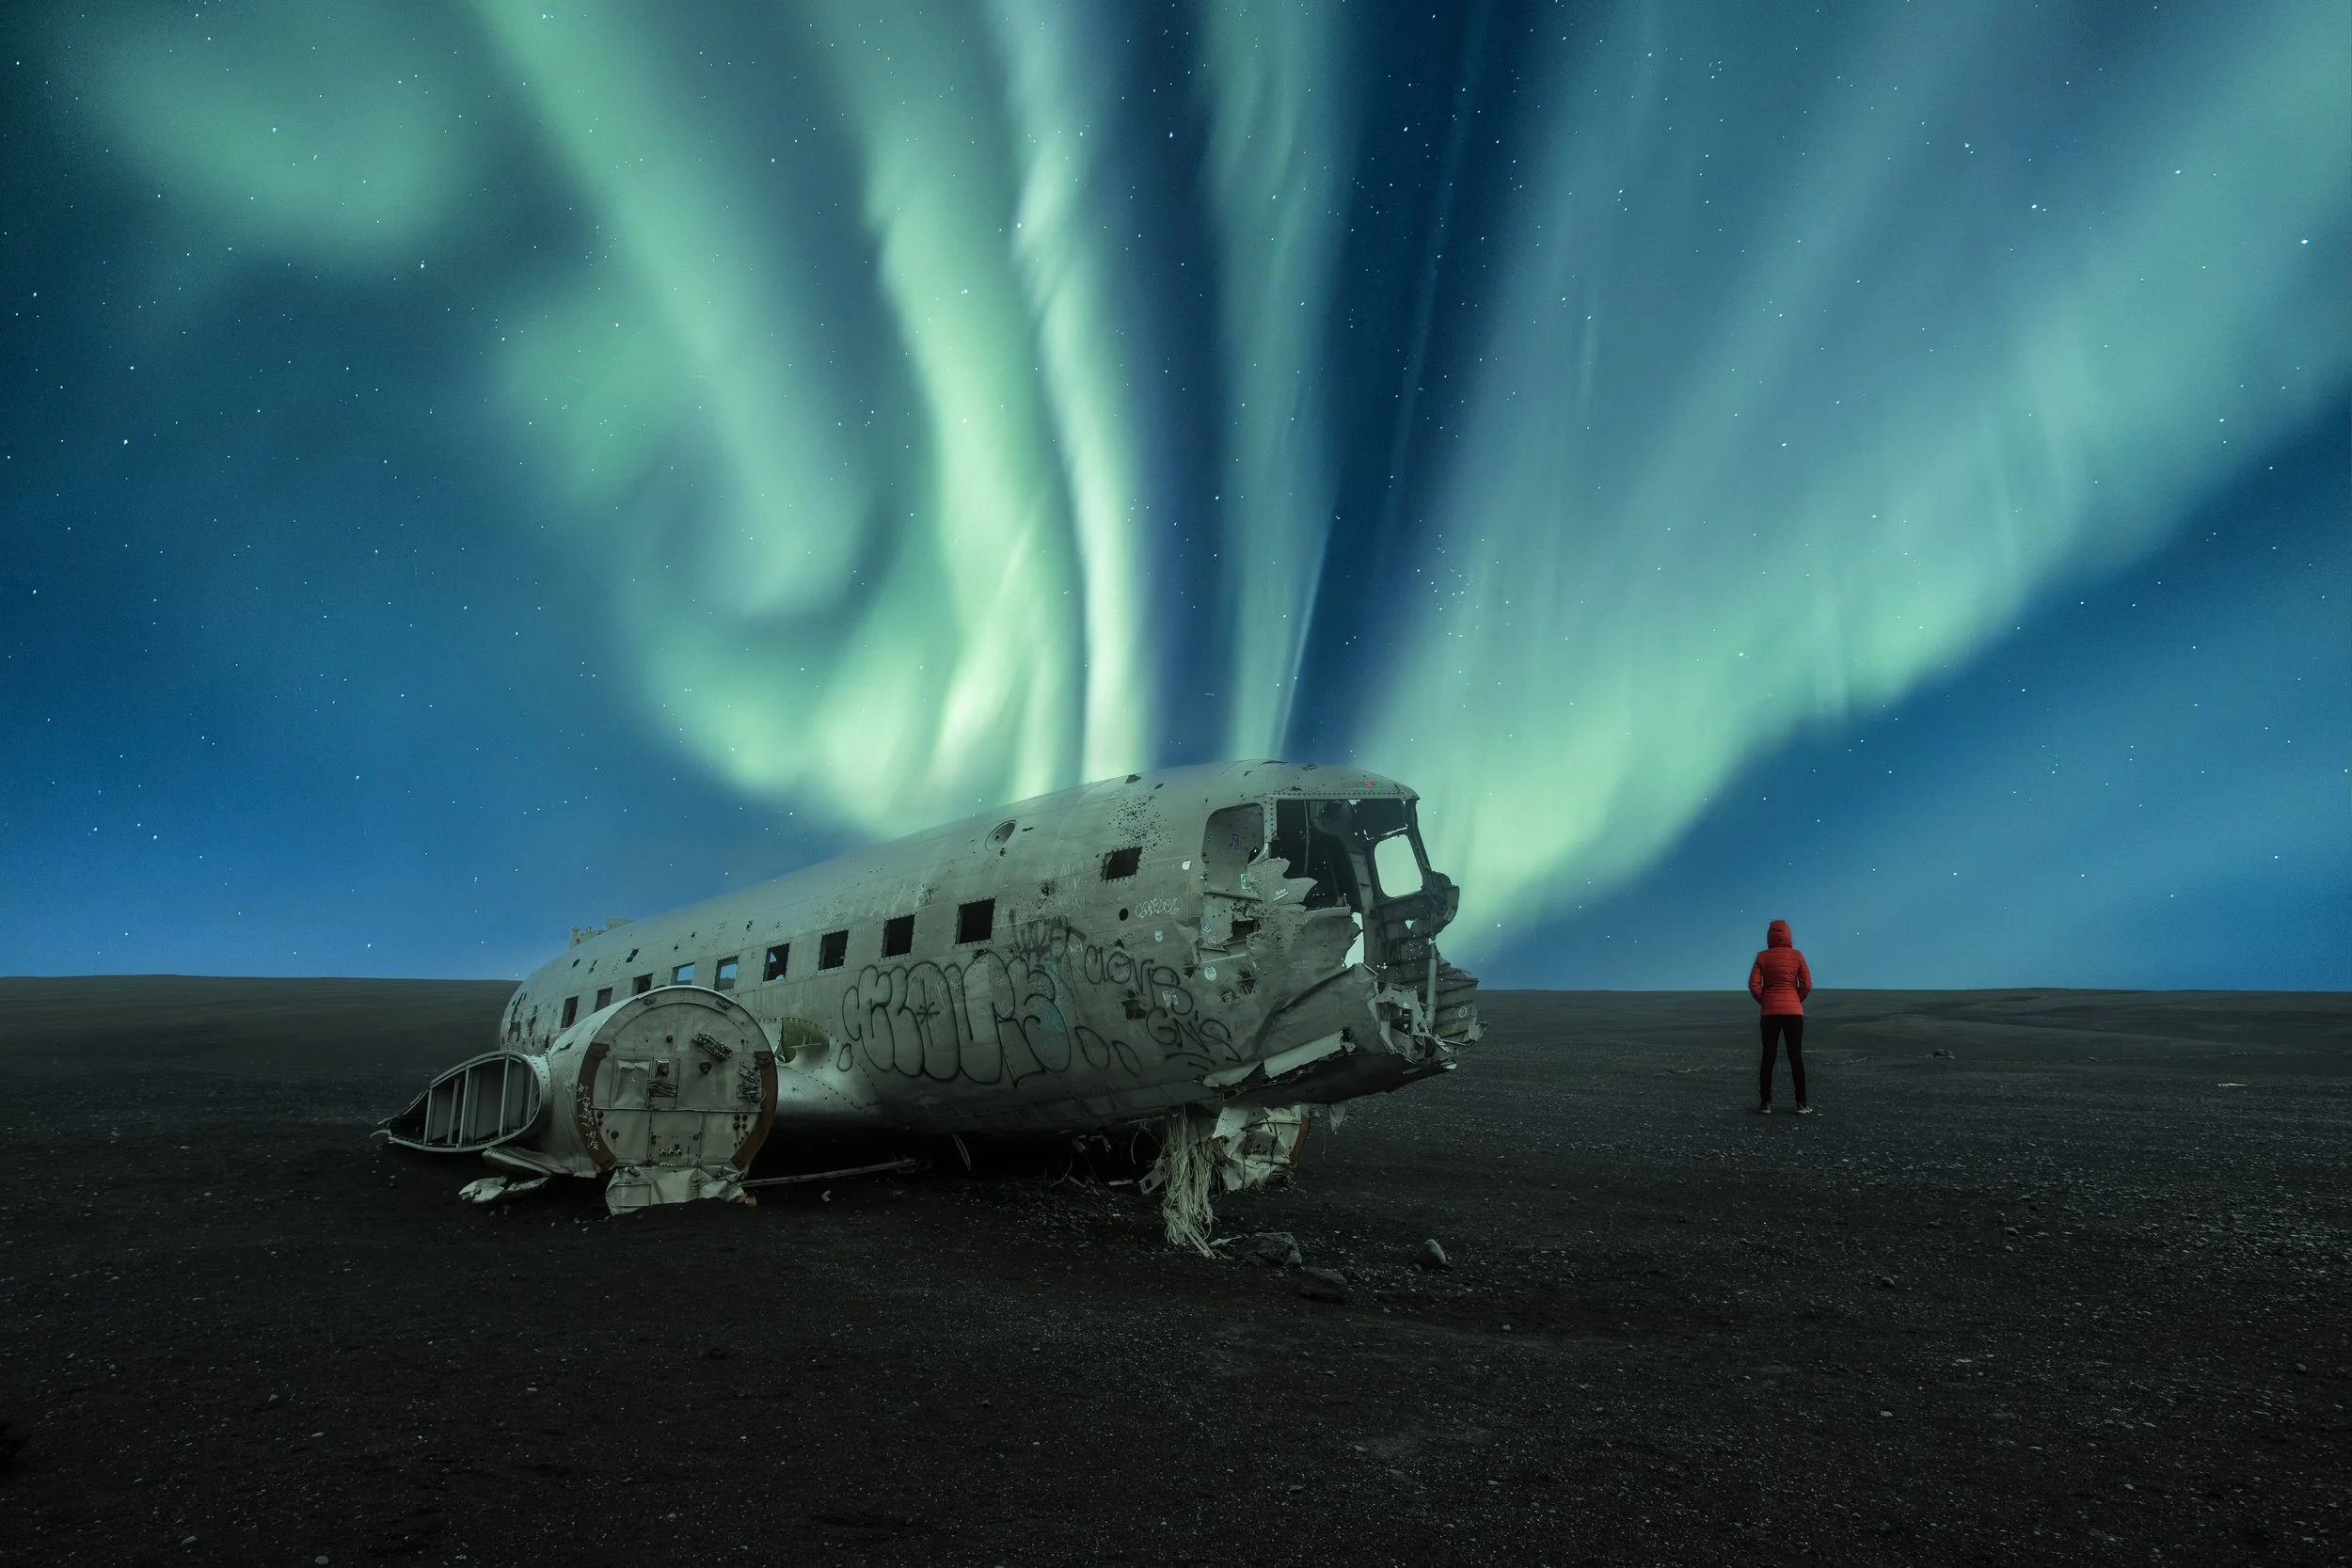
Iceland is one of my favorite aurora destinations—raw, wild, and full of drama. My go-to spots include:
Þingvellir National Park – easily accessible and beautifully dark
Vík and the black sand beaches – stunning contrast with aurora light
Lake Mývatn in North Iceland – less cloudy and more isolated
Basicaly Iceland is a good place where you can hit the Aurora in all parts of the island that why is my first option.
Norway
Few places do auroras quite like Northern Norway:
Tromsø – a vibrant Arctic city right in the auroral oval
Lofoten Islands – jagged mountains, fishing cabins, and fjords as your foreground
Avoid cities, seek out dark skies, and you’ll be amazed by what appears overhead.
Also there are more places like faroe island but because of its latitude it makes it more difficult to capture the aurora form that position due to the KP index.

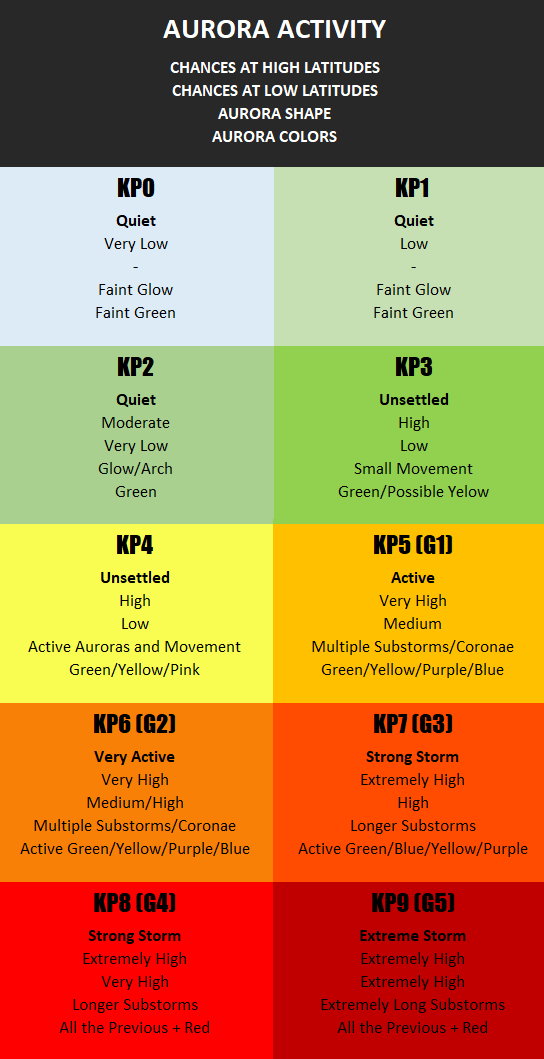
📈 Understanding the KP Index: Predicting the Lights
The KP Index is your aurora forecast in a single number—a 0 to 9 scale measuring geomagnetic activity.
KP 0–3: Low (may be visible in high-latitude areas)
KP 4–5: Moderate (ideal for Iceland and Northern Norway)
KP 6+: Strong activity (can be visible further south)
I personally start checking the KP index a few days ahead of a trip and then monitor it hourly once I’m on location. But KP isn’t everything—you also need clear skies and patience.

📱 Top Aurora Forecasting Apps & Tools
I always use a combo of weather and aurora apps to stack the odds in my favor:
My Aurora Forecast (iOS/Android) – Clean interface, KP index, cloud cover, and alerts
Aurora Alerts – Live notifications when activity spikes
Aurora Service EU – European-focused predictions and aurora oval mapping
SpaceWeatherLive.com – Real-time solar data, solar wind speed, and sunspot tracking
Windy.com – Exceptional cloud and weather overlays
Bonus tip: Turn on push notifications in your apps so you don’t miss sudden outbursts while warming up indoors.

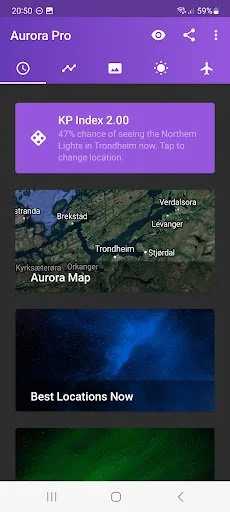

My Aurora Forcast App for Apple / Andriod
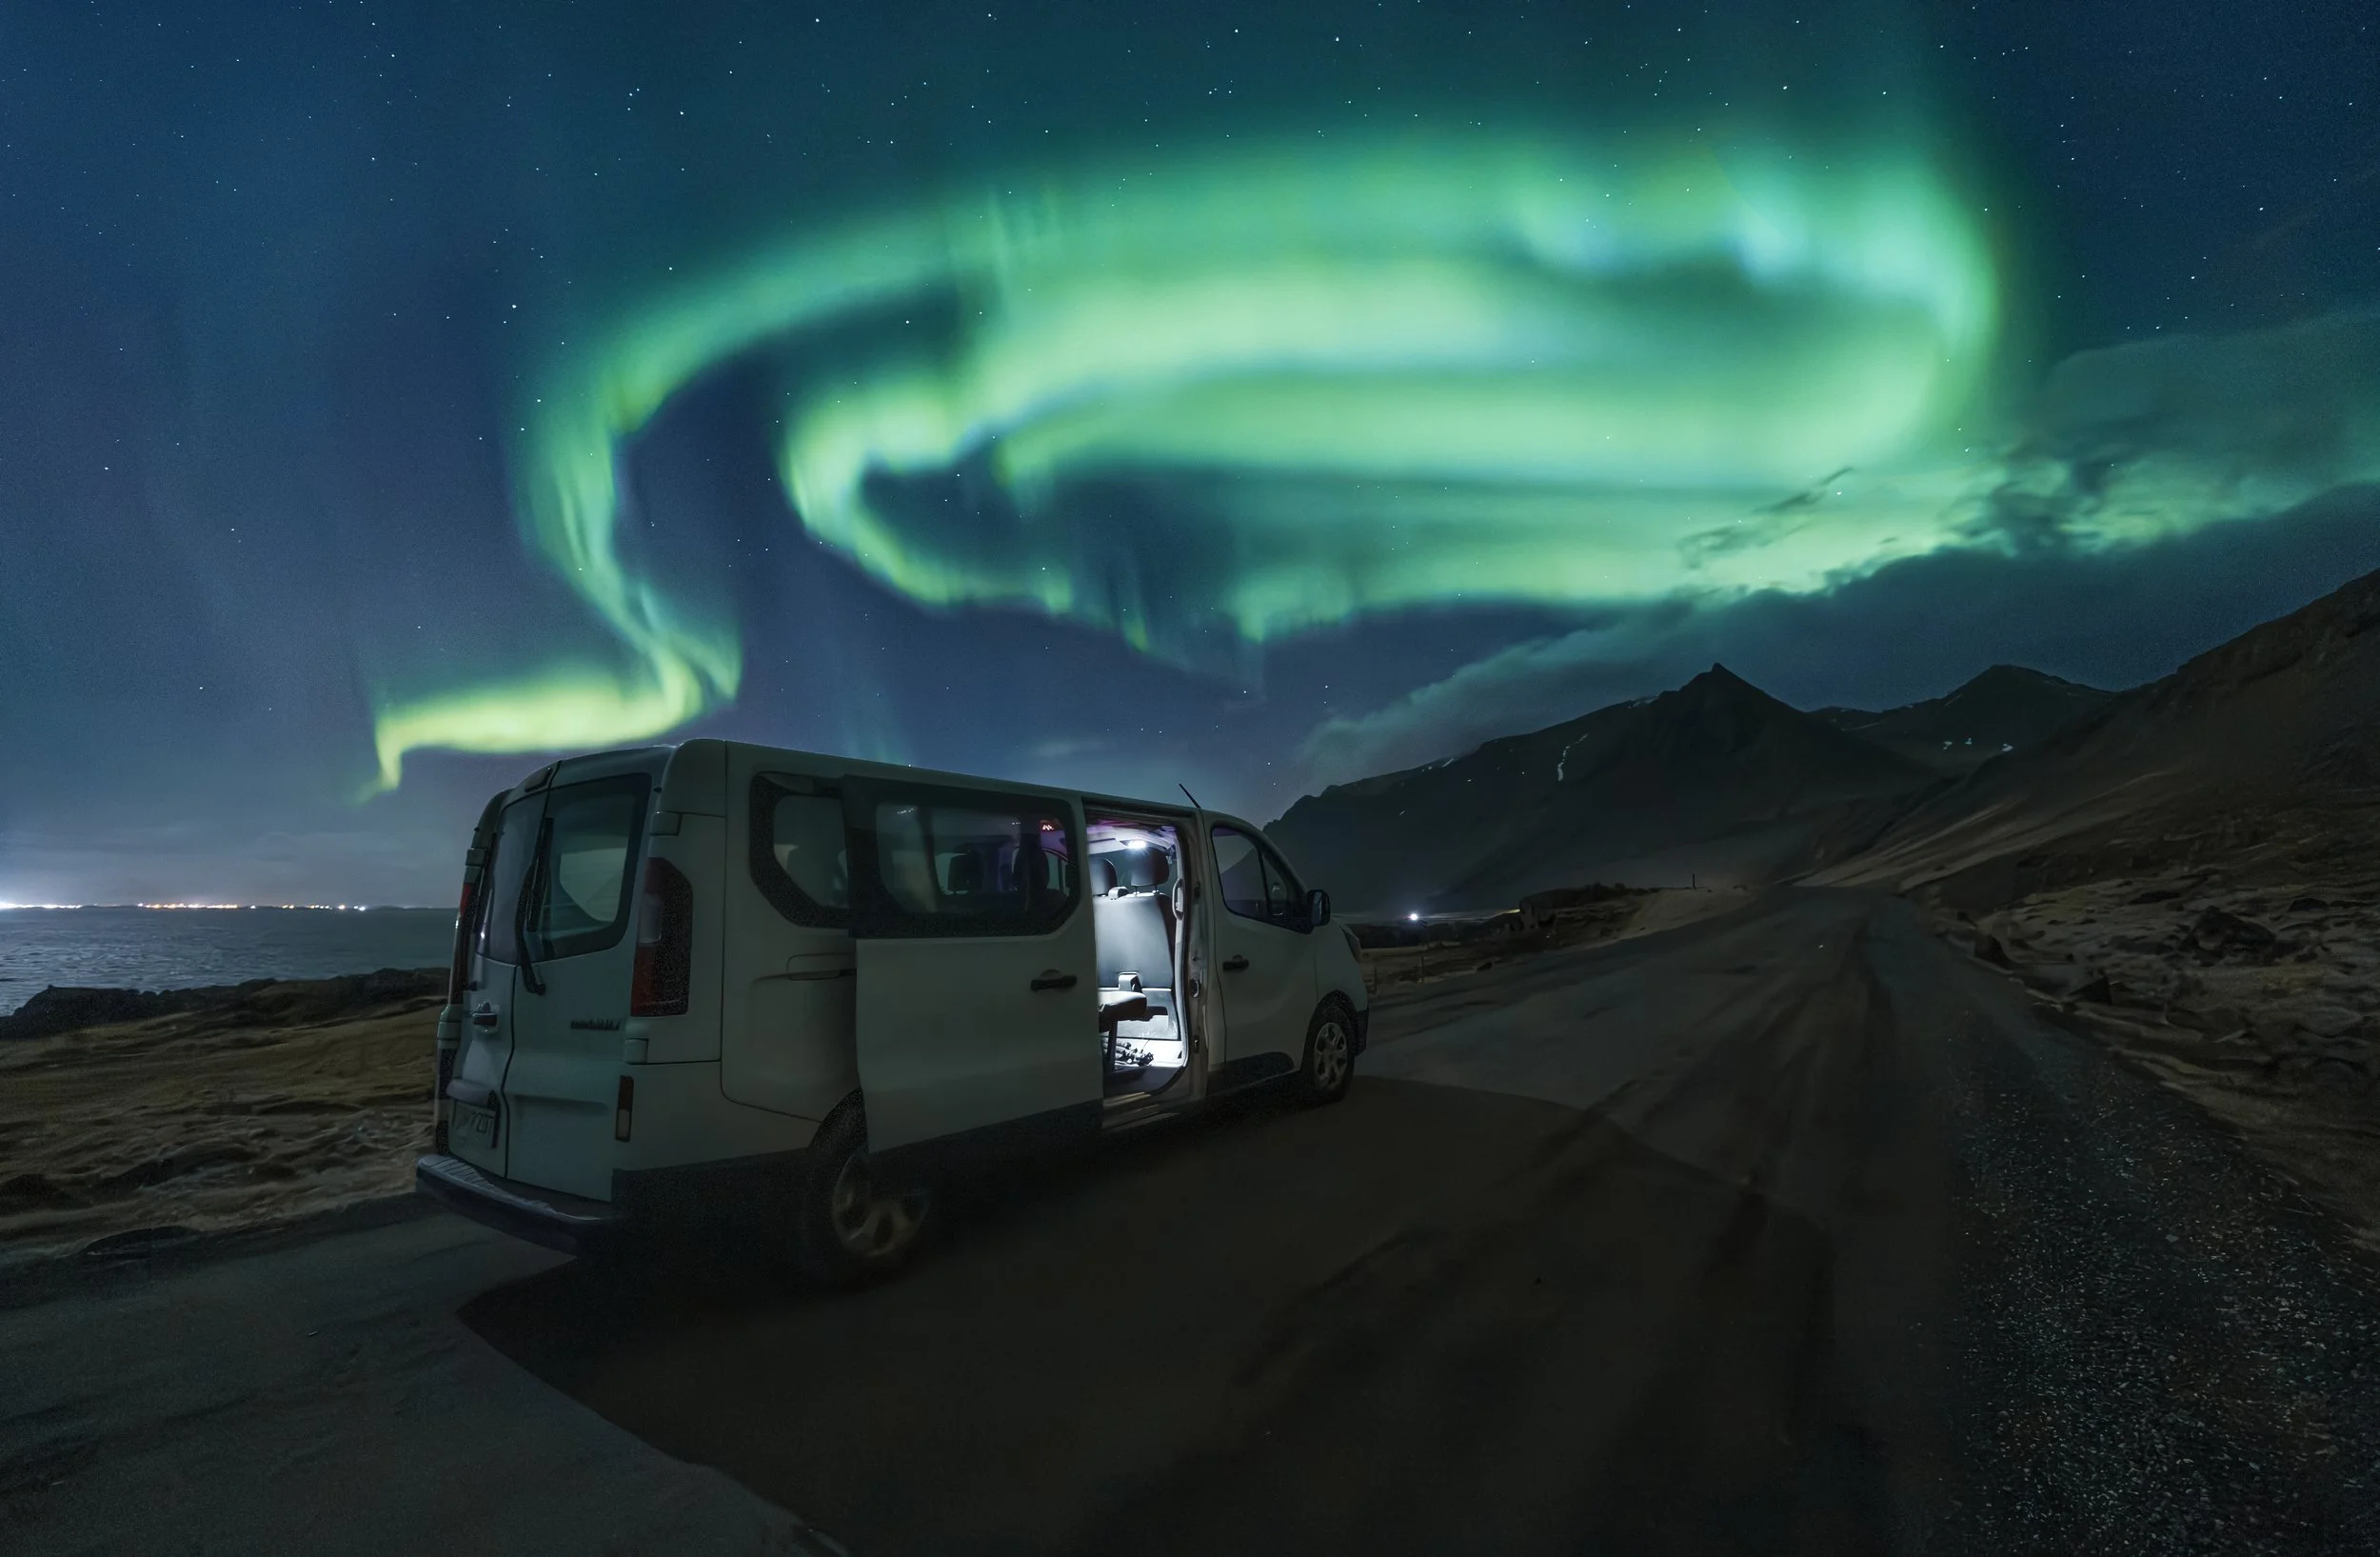
The Gear You Need to Photograph the Northern Lights
Capturing auroras isn’t about owning the most expensive gear—it’s about having the right gear. Here’s what I always pack:
✅ Essential Equipment
Camera: A full-frame DSLR or mirrorless with excellent low-light performance (Sony A7 series, Nikon Z, Canon R5, etc.)
Lens: Wide-angle, fast aperture (f/2.8 or faster, 14–24mm is perfect)
Tripod: Solid and stable; vibrations will ruin your shots
Remote shutter or intervalometer: Avoid touching the camera
Spare batteries: Cold weather kills battery life fast
Headlamp (with red light mode): So you don’t blind yourself or your camera’s night vision
Optional but helpful:
Hand warmers for both fingers and batteries
Lens heaters to prevent fogging in humid or icy conditions
⚙️ Camera Settings: My Go-To Aurora Setup
My typical starting settings look like this:
Mode: Manual (M)
Aperture: Wide open (f/2.8 or lower)
Shutter speed: 5–20 seconds depending on aurora movement (faster = shorter exposure)
ISO: 1600–3200 (higher for faint displays, lower for bright fast-moving ones)
Focus: Manual focus to infinity; fine-tuned using Live View zoomed in on a bright star
White balance: Here’s where it gets interesting…
🔵 Auto White Balance vs Tungsten – The Color Shift You Should Know
Changing your white balance can dramatically affect how your aurora photos look. I’ve experimented extensively, and here’s what I’ve found:
Auto White Balance (AWB)
Warmer tones
Sometimes adds a yellowish cast to green auroras
Can vary slightly from shot to shot
Tungsten (approx. 3200K)
Cooler, more natural-feeling tones
Enhances the deep blues and emerald greens in the sky
Helps remove ambient light pollution in post-processing
My verdict: I prefer shooting with Tungsten when I know I want clean, crisp tones but since I always shoot in RAW, I have total flexibility to adjust in post.
If you’ve never tried changing your white balance, give it a shot it can completely transform the mood of your image.

Tungsten
AWB
✨ Final Tips for Chasing the Lights
Scout your location in daylight – Know your foregrounds and escape routes
Stay warm – Thermal layers, down jackets, and waterproof boots are a must
Be patient – The aurora can appear without warning, and disappear just as fast
Respect nature – Leave no trace and avoid disturbing wildlife or locals
And above all: don’t forget to put the camera down once in a while. Just take it in. The Northern Lights are a gift—and no photo, no matter how perfect, compares to seeing it with your own eyes.
🎒 Now It’s Your Turn
The aurora is unpredictable, elusive, and utterly unforgettable. Whether you're photographing from a frozen lake in Iceland or a mountain pass in Norway, preparation is key—but the magic will always surprise you.
If you have any questions about gear, settings, or planning your own trip, feel free to drop a comment or reach out. I love connecting with other adventurers and photographers who are just as enchanted by the northern sky.
Clear skies and good light 🌌
Earl Mallia